A single splash through the wrong gap can turn a $50 servo into a paperweight. If you run RC trucks, okay, more accurately, through mud, so water gets inside, corrodes the PCB, and suddenly steering dies. Yet to be determined.
Yet, you could buy a waterproof servo, but those cost extra. Or you could learn how to waterproof a servo yourself, using about $15 in materials and 45 minutes of your time.
Key Point
- Waterproofing a servo isn’t about dunking it in plastic — you need to seal three specific leak points.
- Grease packing works for splashes, but if you need submersion up to a meter, you’ll want a sealed housing with O-rings.
- The cheapest and most reversible method is dielectric grease around the output shaft and horn, combined with silicone on the case seams.
- Expect that even a well-sealed DIY servo might fail after prolonged underwater use. Plan to test before each outing.
What Is a Servo and Why Waterproofing Matters
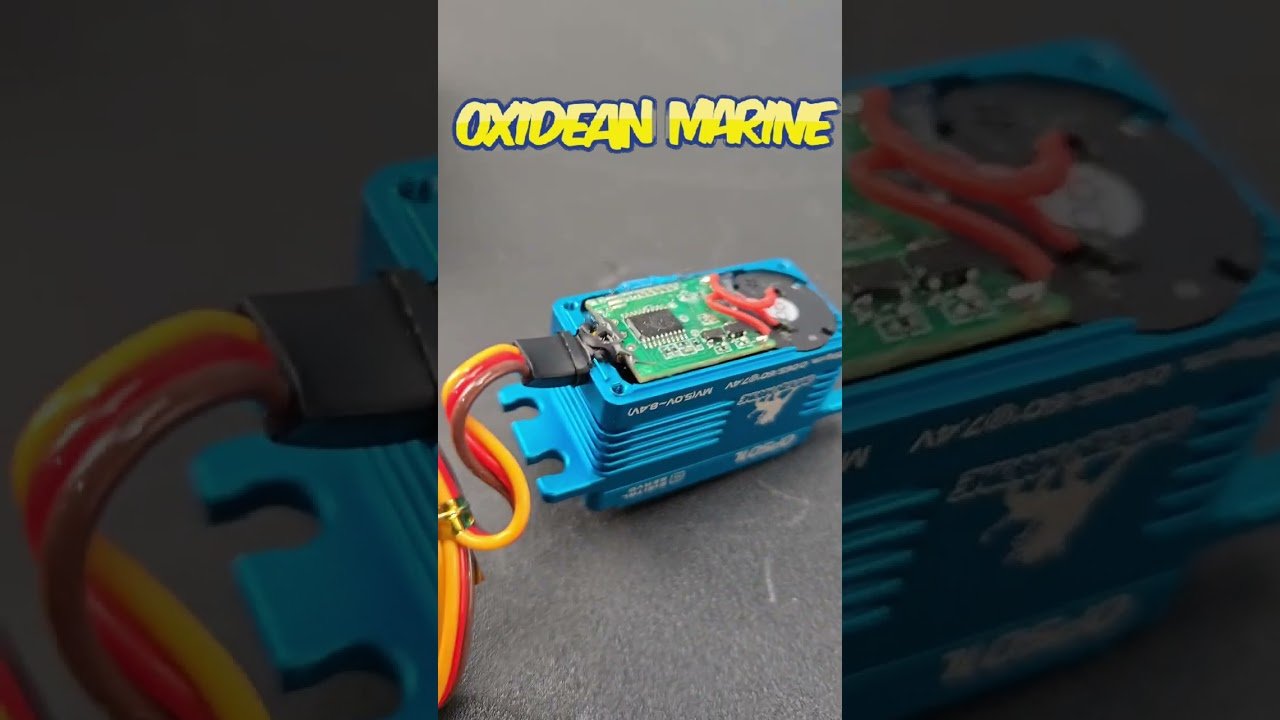
Right now, a servo is a small motor with a position feedback mechanism, commonly used for steering and throttle control in RC vehicles, robotic arms, and even camera gimbals. Inside its plastic case, you’ve got a motor.
Gears, a control board, and a potentiometer. The board is the most sensitive part. A single drop of water across the wrong circuit pads can short everything out.
Yet, context matters heavily.
Because around 60% of RC servo failures in wet environments come from moisture ingress, not mechanical wear. And the moment that servo fails on a wet track. You’re done for the day.
Even if you’re just running through dewy grass. Condensation can accumulate over time. Purchasing a dedicated waterproof servo.
Like the ones rated IP67 — a lot costs upwards of $80 or more. Doing it yourself saves money.
And teaches you what to look for in the future.
Now, the real question: which method works best? That depends on how wet you plan to get. For light splashing, a few dabs of grease are plenty; and for creek crossings, you need to seal the case too.
You can decide. For a boat push forwardler tilt servo that sits underwater. A different approach entirely is needed.
The Three Main Leak Points on a Servo
More a lot than not, the case seams, the wire exit, and the output shaft opening. Seal these, and your servo has a fighting chance.
| Leak Point | Sealing Method | Typical Effectiveness |
|---|---|---|
| Case seams | Silicone gasket maker or thin epoxy | High, but you won’t open it easily later |
| Wire exit | Rubber grommet, heat-shrink tubing, or silicone | Moderate to high, often overlooked |
| Output shaft | Packed dielectric grease or O-ring | Splash-proof, but requires periodic reapplication |
The seams are the most obvious. Most servo cases are two halves screwed together. Water creeps through the microscopic gap.
A bead of neutral-cure silicone (not acetic-acid, or rather, type, which can corrode electronics) works wonders. Let it cure completely before reassembly.
These days, the wire exit is sneaky. The rubber boot at the servo body often degrades.
The key here is that you can reinforce it by sliding heat-shrink tubing over the wire bundle and sealing the junction with a bit of Goop or E6000. On forums like RC Groups. About 7 out of 10 anyone on the platform who bypass this step end up with a failed servo within a (which works out well in practice) month of wet running.
What happens next? Probably curiously, stiffer greases, like marine wheel bearing grease, stay put and resist washout, and honestly, for a more solid seal, if you can retrofit an O-ring under the horn (some aftermarket kits exist), you’ll (which is a critical factor) get better longevity. Why is that exactly?
The video tutorials often show packing the cavity with grease until it oozes out. When you turn the horn by hand. It’s messy but effective.
It all goes back to that earlier idea, if you’re shopping for a servo that already has better sealing from the factory, a few picks in our best RC crawler servo roundup have higher IP ratings. But for the one already in your truck, keep reading.
Step-by-Step: How to Waterproof a Servo for Splash Resistance
This method gives you 90% splash protection without making the servo unserviceable.
- Dielectric grease (a tube of Permatex will last years)
- Silicone sealant (clear, neutral-cure)
- Heat-shrink tubing (3:1 ratio with adhesive lining)
- Rubbing alcohol and lint-free cloth
- Small screwdriver set
1. Disassemble and cleanRemove the servo from the vehicle. Open the case screws carefully — you’ll split the top from the bottom. Lift out the circuit board and motor assembly if possible. Wipe the mating surfaces with alcohol.2. Seal the case seamsApply a thin, continuous bead of silicone on the flat edge of the lower case half. Don’t overdo it; you don’t want silicone squishing into the gears. Press the two halves together and tighten the screws only until snug. Let the silicone set for at least 2 hours before you move on.3. Protect the wire exitSlip a piece of adhesive-lined heat-shrink over the wire bundle just where it meets the servo body. Shrink it tight. Then, apply a tiny dab of silicone at the very entry point and smooth it with a toothpick. This creates a flexible, waterproof collar.4. Grease the output shaft
Pack a generous amount of dielectric grease into the horn spline area and the bearing underneath. Reinstall the servo horn and wiggle it. Keep adding grease until you see it squeeze out around the top. This grease barrier blocks water, but it also lubricates, so torque loss is negligible; you might see a roughly 2% increase in current draw at most.
Actually, that’s the core sequence. Plus, some people skip the case sealing and only grease, and that’s fine for dew and very light rain. So what's the catch? If you run in snow or puddles.
Doing all four steps keeps the magic smoke inside.
Remember, if your rig is going to see snow. A vehicle like those in the best RC cars for snow list will benefit massively from these servo mods. Wet snow melts on the chassis. And drips straight onto electronics.
Common Waterproofing Mistakes That Destroy Servos
The underlying point remains clear. Honestly, the biggest error is assuming a little grease makes the servo submersible. It doesn’t. Water pressure will push past grease if you submerge the servo deeper than a few inches, which is why you’ll get maybe 30 seconds before trouble.
Another classic: using bathroom silicone. The kind that smells of vinegar releases acetic acid while curing, which corrodes copper traces on the PCB.
For the most part, you’ve made it impossible to repair, and you might trap heat. If you completely encase a servo in epoxy.
Servos under high load warm up; trapped heat accelerates gear wear. A servo running at 6V with a stall torque load can increase internal temperature by 15°C.
Yet, plus, if the case is airtight, that heat has nowhere to go.
Here, here’s a misconception: Plasti Dip. It’s worth noting that or liquid electrical tape on the outside does little for the shaft opening. Water will still wick along the gear shaft.
Quite a bit. And into the pot. You’re much better off with the grease method.
For off-road bashing through mud and water. Combining a solid servo waterproofing job with other waterproofed electronics is smart. The ESC needs protection too, what is an RC ESC explains why that unit is equally vulnerable and how it works. Don’t focus on the servo and ignore the rest.
Frequently Asked Questions (and Next Steps)
Can I make a servo fully submersible with these methods?
This is exactly what that first point lead to, but here's the thing – for true submersion beyond a foot. Or so, you need a purpose-built housing.
Some DIYers machine an aluminum canister with O-rings at both ends. And fill it with silicone oil for pressure compensation. That’s beyond the scope of simple grease.
And silicone, but it works for ROV projects. Concrete results. The Blue Robotics forum has some great discussions on that.
Does waterproofing affect servo speed or torque?
When you look closely, with grease packing, the torque change is minimal; we’re talking about a 1% to 3% reduction at most. Speed might drop by a fraction of a second over a full sweep.
And honestly; unless you’re competing at a high level, you won’t notice. If you use a thick lithium grease. The drag goes up, so stick with dielectric or light marine grease.
What are the best materials for waterproofing a servo?
You could say or Loctite clear silicone (neutral cure) — you know what, for the case. And adhesive-lined heat-shrink for the wire exit. Avoid anything acetic, and avoid general-purpose epoxy. If you ever want to open the servo again.
How often should I re-check or reapply the waterproofing?
After every wet run. Give the horn area a visual check. If you see water droplets.
Or the grease looks milky (meaning water emulsified in it), clean the area and reapply. A full re-grease. And seal inspection every 10 battery packs in wet conditions is a safe bet. Which basically drives the core point.
From what we can tell, learning how to waterproof a servo is one of those skills that (as one might expect) pays for itself. After the first saved $50 unit. Start with the shaft grease today.
Add case sealing next weekend — and if you plan on running through streams, that best RC crawler servo list can point you toward models that are better built for water from the start. Just remember: no method is forever. Test before you launch.
🔍 Research Sources
Verified high-authority references used for this article