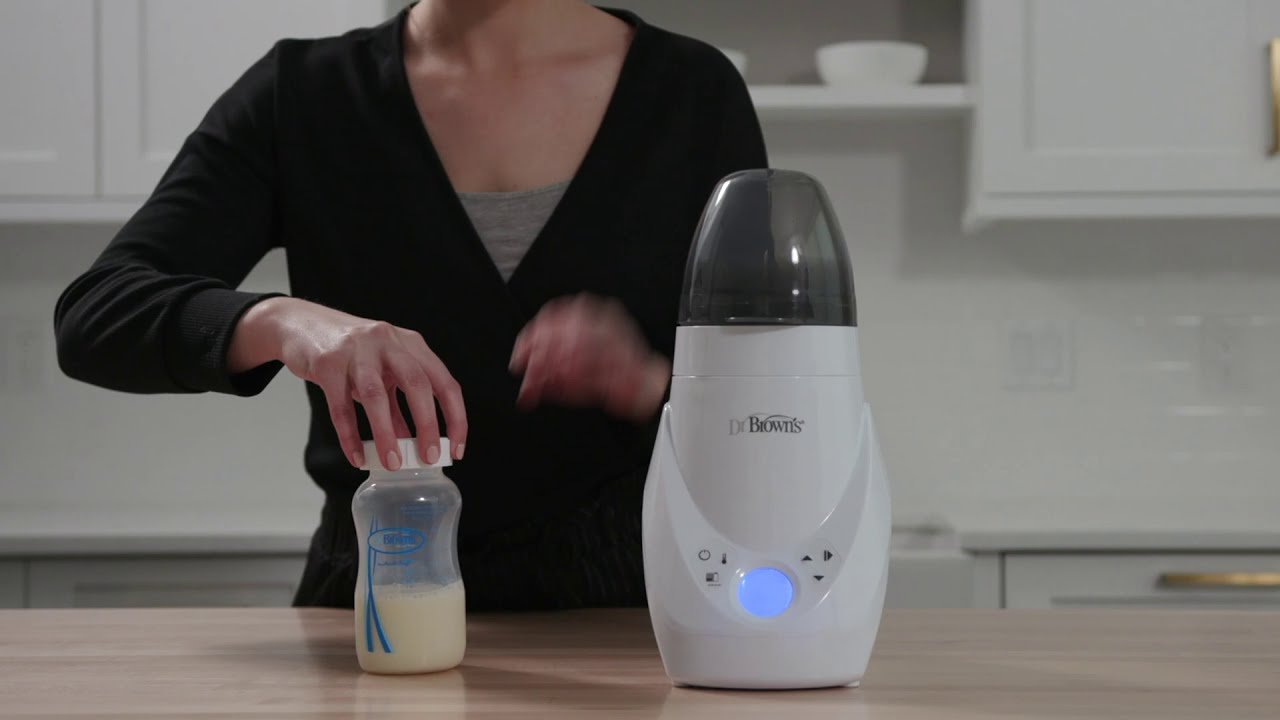
Using Dr Brown’s Bottle Warmer is simple. This guide will show you how.
The Dr Brown’s Bottle Warmer ensures your baby’s milk is always at the perfect temperature. It is designed for easy use and efficiency, making it a favorite among parents. With its straightforward setup, it reduces the hassle during feeding times.
Knowing how to use this warmer can save time and prevent mishaps. Whether you are a new parent or have been caring for a baby for a while, understanding the steps can make your routine smoother. Follow along to learn the process and make your bottle-warming experience stress-free. Let’s dive into how to use Dr Brown’s Bottle Warmer effectively.
Credit: drbrownsbaby.com
Introduction To Dr Brown’s Bottle Warmer
Welcome to the world of hassle-free feeding with Dr Brown’s Bottle Warmer. Parents know the challenge of getting the perfect bottle temperature. This device promises to make feeding time smoother. It is designed to warm bottles quickly and safely. Ideal for busy parents seeking convenience.
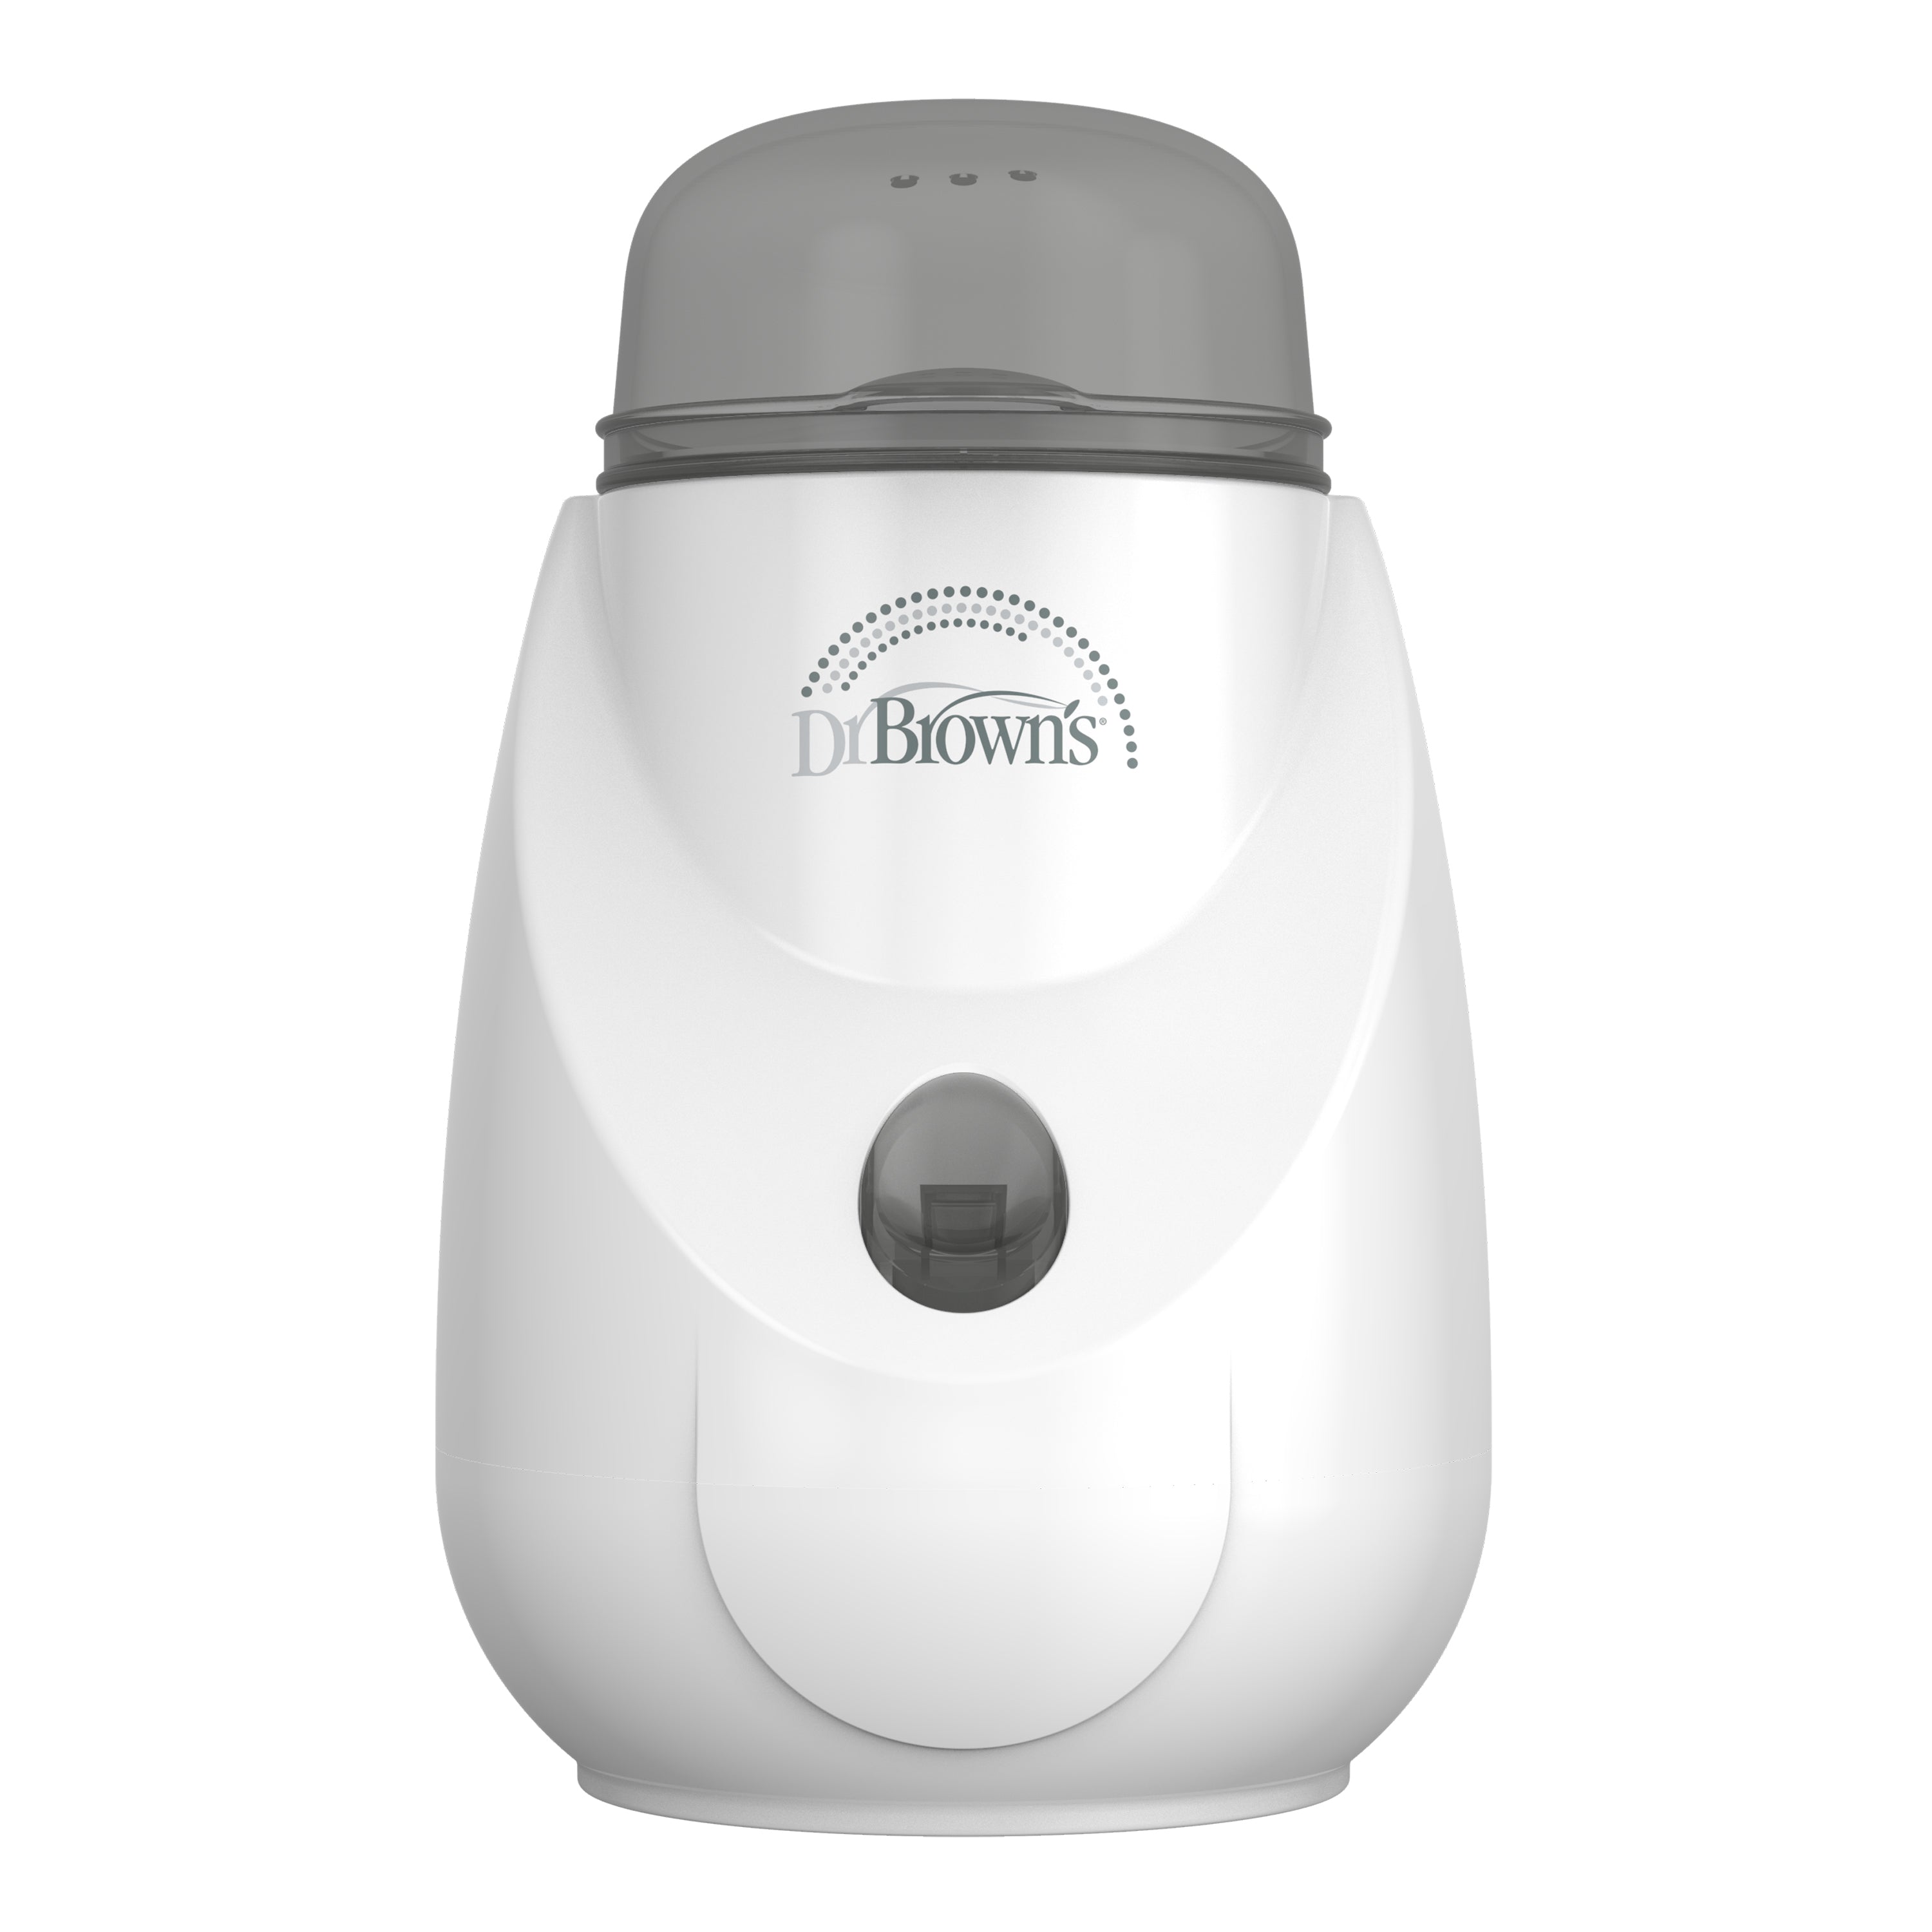
Features Overview
Dr Brown’s Bottle Warmer boasts impressive features. An easy-to-use LCD control panel guides you. Precise temperature settings ensure the bottle is just right. It has a memory function. This remembers your preferred settings for next use. The warmer accommodates different bottle sizes. This means it fits most bottles and jars easily.
Benefits Of Using
The benefits of using Dr Brown’s Bottle Warmer are clear. It saves time by warming bottles quickly. This is crucial for those urgent feeding times. The device ensures milk reaches a safe temperature. This reduces the risk of overheating. Its automatic shut-off feature provides peace of mind. You can trust it to stop heating once done.
Parents find it compact and portable. This makes it easy to move around the house. It’s also energy-efficient, using less power than other warmers. These benefits make it a reliable choice for many households.
Setting Up The Bottle Warmer
Dr Brown’s bottle warmer simplifies feeding time. Plug in the device and fill the reservoir with water. Place the bottle inside and select the warming cycle.
Setting up the Dr. Brown’s Bottle Warmer is a straightforward process that ensures your baby’s bottle is warmed to the perfect temperature every time. Whether you’re a first-time parent or a seasoned pro, getting started with the bottle warmer can be a breeze. Let’s dive into the essentials and steps to make your setup seamless and efficient.Unboxing Essentials
Once you open the box, you’ll find the Dr. Brown’s Bottle Warmer itself, along with a user manual that provides detailed instructions. Take a moment to read through the manual to familiarize yourself with the parts and functionality. Ensure all components like the reservoir, heating chamber, and control panel are included and undamaged.Place the warmer on a flat, stable surface near a power outlet. This will prevent any accidents or spills during use. Keep in mind to set it up in a spot that’s convenient for you, especially during those late-night feedings.Initial Setup Steps
Start by filling the water reservoir with clean water. You can use the measuring lines on the reservoir to add the correct amount.Insert the filled reservoir into the back of the warmer, ensuring it clicks into place. This is crucial for the heating process to work correctly.Plug the warmer into a power outlet and turn it on. You might see the display light up or hear a beep indicating it’s ready to use.Next, familiarize yourself with the control panel. Experiment with the buttons and settings to understand how to adjust the temperature and timer.Before warming your first bottle, run a test cycle with an empty bottle. This helps you gauge the timing and temperature settings without risking your baby’s meal.Have you ever found yourself struggling with technology late at night? Testing it during the day can save you from potential mishaps when you’re half-asleep.These simple steps will get your bottle warmer ready for action. With everything set up, you’re now equipped to provide a perfectly warmed bottle for your little one. What’s more satisfying than knowing your baby’s meal is just the right temperature every time?Operating Instructions
Using Dr Brown’s Bottle Warmer is straightforward. Knowing how to operate it ensures safe and warm bottles for your baby. This section covers essential operating instructions. Follow these steps to make the most of your device.
Powering On And Off
Locate the power button on the warmer. Press it once to power on. The indicator light shows it is ready to use. To turn off, press the button again. Ensure the device is off when not in use.
Adjusting Temperature Settings
Dr Brown’s Bottle Warmer has temperature settings for different needs. Use the dial to adjust the temperature. For warmer bottles, turn the dial clockwise. For cooler bottles, turn it counterclockwise. Monitor the temperature display to ensure accuracy.
Heating Bottles Safely
Heating bottles safely is a top priority for many parents. Dr. Brown’s Bottle Warmer offers a convenient way to warm milk. It ensures your baby’s meal is at the right temperature. This guide will help you use it safely and effectively.
Choosing The Right Bottle
Dr. Brown’s Bottle Warmer works with various bottle sizes. Choose a bottle that fits snugly in the warmer. This ensures even heating. Glass and plastic bottles both work well. Check the bottle’s instructions for compatibility. Make sure the bottle material can handle heat. Avoid bottles not recommended for warming.
Ensuring Safe Heating
Always follow the bottle warmer’s instructions. Fill the water reservoir to the correct level. Place the bottle in the warmer securely. Set the timer based on the bottle size and contents. Never leave the warmer unattended during use. After heating, check the milk temperature. Shake the bottle gently to mix any hot spots. Use your wrist to test the milk’s warmth. It should be lukewarm, not hot. If too warm, let it cool before feeding.
Cleaning And Maintenance
Keeping your Dr Brown’s Bottle Warmer in top condition ensures safety and efficiency. Proper cleaning and maintenance extend its lifespan. Regular cleaning prevents residue buildup, ensuring your baby’s bottles are safe. Follow these simple steps to maintain the bottle warmer’s performance.
Daily Cleaning Routine
After each use, unplug the bottle warmer. Let it cool down completely. Remove any remaining water from the reservoir. Use a soft, damp cloth to wipe the exterior. Avoid using harsh chemicals or abrasives. These can damage the surface. Clean the inside with a damp cloth. Ensure all parts are dry before storing. This routine keeps your warmer hygienic and ready for the next use.
Deep Cleaning Tips
Perform a deep clean weekly or as needed. Fill the reservoir with equal parts water and white vinegar. This solution helps remove mineral deposits. Turn on the warmer, allowing the solution to heat. Let it sit for 30 minutes. Afterward, empty the reservoir and rinse thoroughly with clean water. Wipe the interior with a soft cloth. Ensure no vinegar smell remains. Dry all parts completely before the next use. Regular deep cleaning maintains optimal performance.

Credit: www.tiktok.com
Troubleshooting Common Issues
Troubleshooting common issues with Dr. Brown’s Bottle Warmer involves understanding basic functions like power settings and water levels. Ensure proper placement of the bottle and check for any obstructions to maintain efficient warming. Regular cleaning can also prevent malfunction and ensure reliable performance.
When using Dr. Brown’s Bottle Warmer, you might encounter some hiccups. Like any gadget, it’s not immune to occasional quirks. Understanding these common issues can save you time and ensure your baby gets that perfectly warmed bottle. Let’s dive into some troubleshooting tips that can help you handle the most common problems.Power Problems
One of the first things to check if your bottle warmer isn’t working is the power source. Is it plugged in securely? Sometimes, a simple nudge can solve the problem.Double-check that the outlet is functioning properly. Try plugging another device into the same socket. If that doesn’t work, consider switching to a different outlet.Ensure the power cord is intact. Look for any visible damage. A frayed cord can hinder performance. If damaged, you may need to replace it to prevent further issues.Heating Inconsistencies
Have you noticed your bottle warmer heats unevenly? This could be due to incorrect water levels. Make sure you fill the reservoir as per the instructions. Too little or too much water can affect heating efficiency.Another reason might be the bottle size. Are you using a larger bottle than recommended? Bigger bottles may require more time to heat evenly. Adjust the heating time accordingly.Check if the warmer needs cleaning. Mineral build-up can impact heating performance. Regular cleaning can keep it running smoothly.Have you ever felt frustrated when your baby’s bottle isn’t ready on time? Addressing these common issues can minimize delays and keep your baby happy. What other questions do you have about using the bottle warmer effectively?User Tips For Optimal Use
Discover efficient usage tips for Dr Brown’s Bottle Warmer. Ensure bottles are clean before use. Adjust settings for desired temperature.
Using Dr. Brown’s Bottle Warmer is a convenient way to make sure your baby’s milk is ready at the perfect temperature. But, like any device, knowing a few insider tips can make your experience even better. In this section, we’ll dive into some practical user tips that can save you time and enhance your efficiency. These tips will not only simplify your routine but also help you get the most out of your bottle warmer.Time-saving Hacks
Time is precious, especially when you’re juggling the demands of a baby. One handy tip is to pre-fill the water reservoir of your Dr. Brown’s Bottle Warmer. This way, when feeding time approaches, you simply need to place the bottle in and start the warming process without delay.Another time-saver is to use the warming memory feature. Once you find the perfect warming time for your specific bottle type and milk temperature, the warmer remembers it for next time. This eliminates the guesswork and makes the process faster and smoother.Consider setting a reminder on your phone for regular cleanings. This keeps your warmer in top shape and prevents any build-up that could slow down the heating process. Regular maintenance means you won’t face unexpected delays.Enhancing Efficiency
Efficiency is key when you’re managing multiple tasks. Make sure to organize your feeding station. Keep bottles, the warmer, and other essentials within arm’s reach. This setup ensures you can grab what you need quickly, streamlining the feeding process.Getting familiar with the warmer’s settings can also boost your efficiency. Spend a few minutes exploring the various options and settings. Knowing these features well allows you to adapt quickly to different bottle types and temperatures without any fuss.Don’t overlook the importance of measuring accurately. Use the included measuring cup for water to ensure the bottle heats evenly. Accurate measurements prevent overheating and ensure your baby’s milk is warmed perfectly every time.Have you ever thought about timing the bottle warming with other tasks? While the bottle is warming, you could change a diaper or set up for the next activity. Synchronizing tasks can help you manage your time more effectively.By applying these tips, you can transform your bottle-warming routine into a seamless part of your day. What strategies do you use to save time and increase efficiency in your daily routine?
Credit: www.youtube.com
Frequently Asked Questions
Can You Warm Breast Milk In Dr. Brown’s Bottle Warmer?
Yes, you can warm breast milk in Dr. Brown’s bottle warmer. It ensures safe and even heating.
How Long To Warm A 2 Oz Bottle In A Bottle Warmer?
Warm a 2 oz bottle in a bottle warmer for 3-5 minutes. Ensure even heating by checking temperature. Follow manufacturer instructions for best results. Always test milk temperature before feeding your baby.
How Much Water To Put In A Bottle Warmer?
Check the bottle warmer’s manual for specific instructions. Most require enough water to cover the heating element. Typically, this is around 1-2 cups. Always ensure the water level is sufficient to prevent damage. Accurate water measurement ensures optimal heating and safety for your baby’s bottle.
Do You Have To Use The Green Part In Dr. Brown Bottles?
You don’t have to use the green part in Dr. Brown’s bottles. It serves as an internal vent system to reduce colic and ensure smooth feeding. Many parents choose to use it for its benefits, but it’s not mandatory for the bottle to function.
How Do You Set Up Dr Brown’s Bottle Warmer?
Fill the water reservoir. Plug in the warmer. Select the desired time and temperature settings.
Conclusion
Dr Brown’s bottle warmer is simple to use. Just follow the steps carefully. It helps warm milk evenly and quickly. No hot spots. Perfect for busy parents. Easy to clean and store. A handy tool for baby’s feeding routine. Remember to check the temperature before serving.
Safety first. Happy feeding time with your little one. Enjoy the convenience and peace of mind. Dr Brown’s bottle warmer makes parenting a bit easier. Reliable. Efficient. A smart choice for every parent. Try it and see the difference. Keep your baby happy and healthy.