
A loose cable or a low battery is the most common reason for your turtle beach headphones not working, which happens in most cases when the device loses its connection to the console or PC. You can quickly confirm this by checking if the headset’s status light is blinking or if the physical connection to your controller is secure. If the light is off, the battery is likely dead, or the charging cable isn’t sending power.
Why your Turtle Beach headphones aren’t working
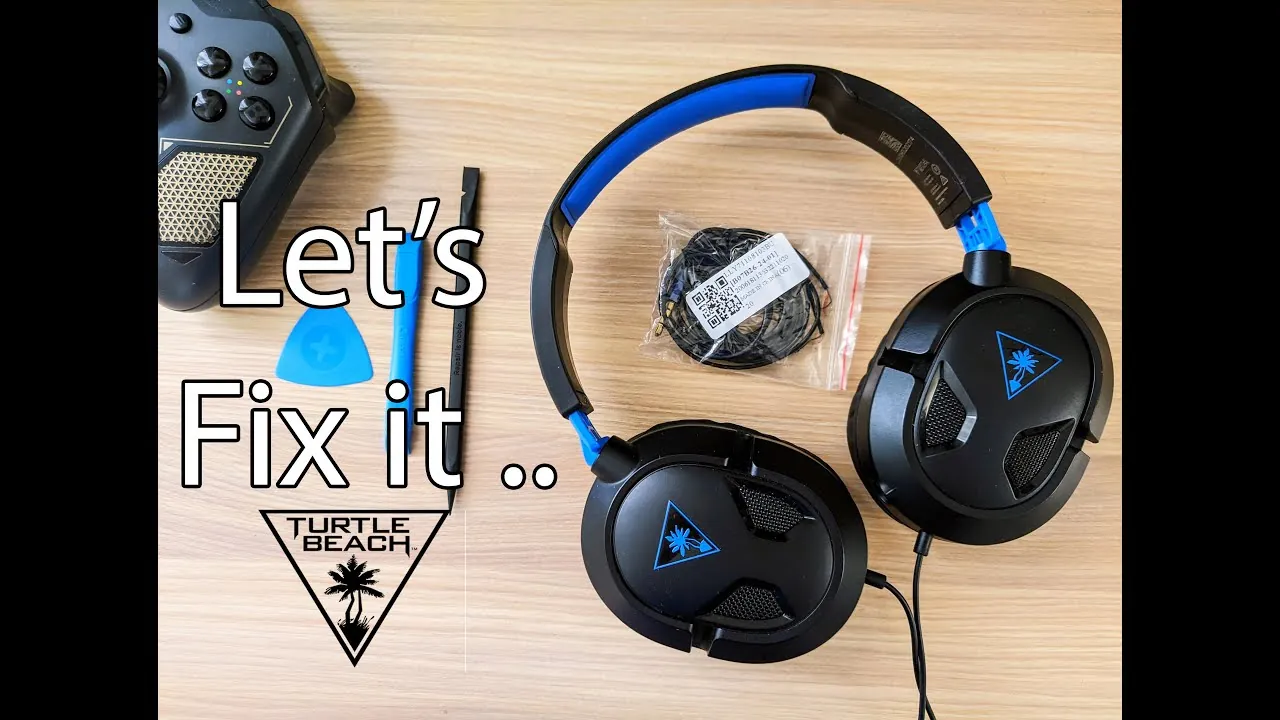
| Cause | How common | How to confirm it | Fix it yourself? |
|---|---|---|---|
| Low battery | Very common | Status light is off | Yes |
| Loose cable | Common | Wiggle the connection | Yes |
| Wrong audio settings | Common | Check system sound menu | Yes |
| Outdated firmware | Frequent | Check manufacturer software | Yes |
| Damaged internal wire | Rare | Inspect cable for kinks | Yes |
| Faulty USB port | Rare | Try a different port | Yes |
| Hardware failure | Very rare | Test on another device | No |
If your battery light blinks red or amber, you have less than 10% charge remaining. Plug the device into a wall outlet rather than a computer port to bypass potential power delivery issues.
When checking audio settings, ensure your headset is selected as the default output device in your OS sound menu. People often forget that applications like Zoom or Discord have independent audio settings that override system defaults. If you hear audio in the browser but not in an app, update the app’s specific input settings.
Inspect your cable for “memory spots,” where the outer casing feels flattened or brittle. If you find a kink, straighten it gently; if the audio cuts in and out while you move the cable, the internal copper shielding is likely frayed.
If you suspect a faulty USB port, test a different peripheral like a mouse in that same slot. If the mouse fails, your motherboard port is the culprit, not the headset. Always test your headset on a secondary device before initiating a warranty claim. If it fails on a second computer, it’s a definitive hardware failure.
Resolving battery and charging issues
A drained battery is often mistaken for a broken headset because the device won’t turn on or sync. If your headset uses a rechargeable battery, connect it to a known working USB power source for at least 30 minutes before trying to power it on again. You can verify if it’s charging by looking for a solid or blinking LED indicator on the ear cup or the control box.
If the light remains off after an hour of charging, the issue might be the USB cable rather than the battery itself. Try using a different cable that you know works with another device, such as a phone or a controller. Most users mistakenly assume the cable is functional just because it fits the port, but internal wire fraying often prevents power delivery while still allowing data transfer.
If the headset still doesn’t show signs of life after testing a different cable and a different wall adapter, the internal battery may have reached the end of its life cycle. If your device holds a charge for less than two hours after a full night of charging, the battery has likely degraded. In this case, you must replace the battery or the headset entirely to restore performance.
Fixing connection and port errors
A loose or dirty connection is a frequent culprit for audio dropping out or failing to start. First, unplug the cable from the headset and the controller or console, then look into the port for any dust or debris. Use a dry, soft brush to clear out any lint that might stop the metal pins from making full contact. Compressed air is also effective, but keep the nozzle at least four inches away to avoid damaging the delicate internal components.
If the connection is clean, ensure the jack is pushed firmly into the port until you hear or feel a click. If you’re using a wireless USB transmitter, move it to a different port on your console to rule out a dead USB socket.
Many users mistakenly plug transmitters into the front-facing ports of a console, which often provide lower power output than the rear ports. If your audio crackles or cuts out intermittently, the rear port is almost always the more stable choice.
Always avoid using USB hubs or extension cables. These accessories frequently introduce signal latency and voltage drops that prevent the headset from maintaining a consistent handshake with your hardware. If the device still fails to register, try the headset on a secondary device like a laptop to determine if the fault lies with the cable or the console port.
Adjusting console and software settings
Incorrect audio output settings often make it seem like the headset is broken when it’s simply muted or configured to the wrong device. Go into the sound settings menu on your console or computer to verify that the headset is selected as the default playback and recording device. If the volume slider is set to minimum or the “mute” button on the headset is toggled on, you’ll hear nothing even if the hardware is working.
Check the balance between game audio and chat audio if you only hear one source. Many consoles feature a physical mixer dial or an on-screen slider that prioritizes one stream over the other. If you can’t hear your teammates, slide this balance toward the chat setting.
If you’re on a PC, ensure the latest drivers are installed for your audio hardware. For console users, look for a “firmware update” option within the official companion app on your computer. If the headset requires an update, the software will prompt you to connect the device via USB.
Follow those instructions carefully to avoid interrupting the process, which could leave the headset in an unresponsive state. Never use a USB hub for these updates; connect the cable directly to the console or motherboard to ensure consistent power delivery throughout the installation.
Rare causes for audio failure
Firmware corruption often occurs when a power fluctuation interrupts an update. If your headset remains unresponsive after a reboot, perform a factory reset using the manufacturer’s dedicated software. Don’t attempt to force a manual firmware flash, as this risks bricking the device permanently.
Internal wire fraying happens most frequently at the stress relief points near the jack or earcups. If you observe a visible kink or feel a soft spot in the insulation, the copper strands inside have likely snapped. Stop using the cable immediately to prevent a short circuit that could damage your computer’s audio port.
System conflicts arise when multiple output devices share the same driver architecture. If your monitor speakers or a secondary USB interface are plugged in, your OS may default to them automatically. Check your sound control panel to verify that your headset is set as the primary communication and playback device.
Internal board failure typically follows a hard drop onto a solid surface. If you hear a rattling sound when shaking the earcups, a component has likely detached from the PCB. Professional repair is the only viable fix, as soldering surface-mount components requires specialized equipment and steady hands.
What a repair typically involves
Fixing these headphones usually depends on whether the problem is software, a cable, or the internal hardware. Software fixes are free and only require a few minutes of your time to navigate menus or run an update. Cable issues are also simple to resolve; you can buy a replacement wire for a fraction of the cost of a new headset, and it works exactly like the original.
If the hardware inside the headset is damaged, the cost is much higher and often reaches the price of a mid-range replacement pair. Before choosing to repair or replace, check your warranty status on the manufacturer’s official page to see if you’re covered.
If you’re outside the warranty period, compare the cost of a professional repair shop to the price of a new unit. Most shops will give you a quote if you describe the specific model and the symptoms you’re seeing.
Frequently asked questions
How long does the battery last?
The battery life varies by model, but most wireless headsets provide 15 to 30 hours of play time on a full charge. You can find the exact rating for your specific unit in the user manual provided on the official website. If your headset is losing charge in less than 5 hours, the battery is likely degrading and may need a replacement.
Is it safe to use a fast charger?
It isn’t recommended to use high-power fast chargers, as they can damage the internal battery of your headset. Always use a standard USB port on your console or a 5V wall adapter to ensure the power delivery remains stable.
Why do I hear sound in one ear only?
A mono sound issue is usually caused by a partially inserted cable or a dirty headphone jack. Try unplugging and re-inserting the cable firmly into the port to ensure the connection is complete. If the problem persists with other devices, the internal wiring for one speaker has likely failed, and the headset will need to be replaced or professionally serviced.
Does it matter which USB port I use?
It matters because some USB ports on older consoles provide less power than others, which can cause the headset to disconnect randomly. Always plug the transmitter or charging cable directly into the primary USB ports on the front or back of the console. Avoid using external USB hubs, as they often fail to provide the consistent voltage required for stable audio performance.
What happens if I drop my headset?
Dropping the headset can cause internal components to shift or break, leading to permanent audio failure. Even if the outside looks fine, the internal solder joints or the microphone boom arm can snap upon impact. If you suspect physical damage, test the headset on a different device; if it still fails, the internal hardware is likely broken beyond a simple fix.
Conclusion
If these basic checks don’t get your audio back, don’t worry. Sometimes a quick firmware update through the official app is all it takes to fix hidden software glitches. You’ll find the download link on their support site, so give that a try if you’re still having trouble hearing your game.