
A dead battery or a loose connection is the reason for rc car steering not working in most cases. You should check the power source first, as low voltage often stops the servo from moving while still allowing the motor to run. If the wheels don’t turn when you move the transmitter stick, the signal is likely not reaching the steering component.
Why your steering isn’t working
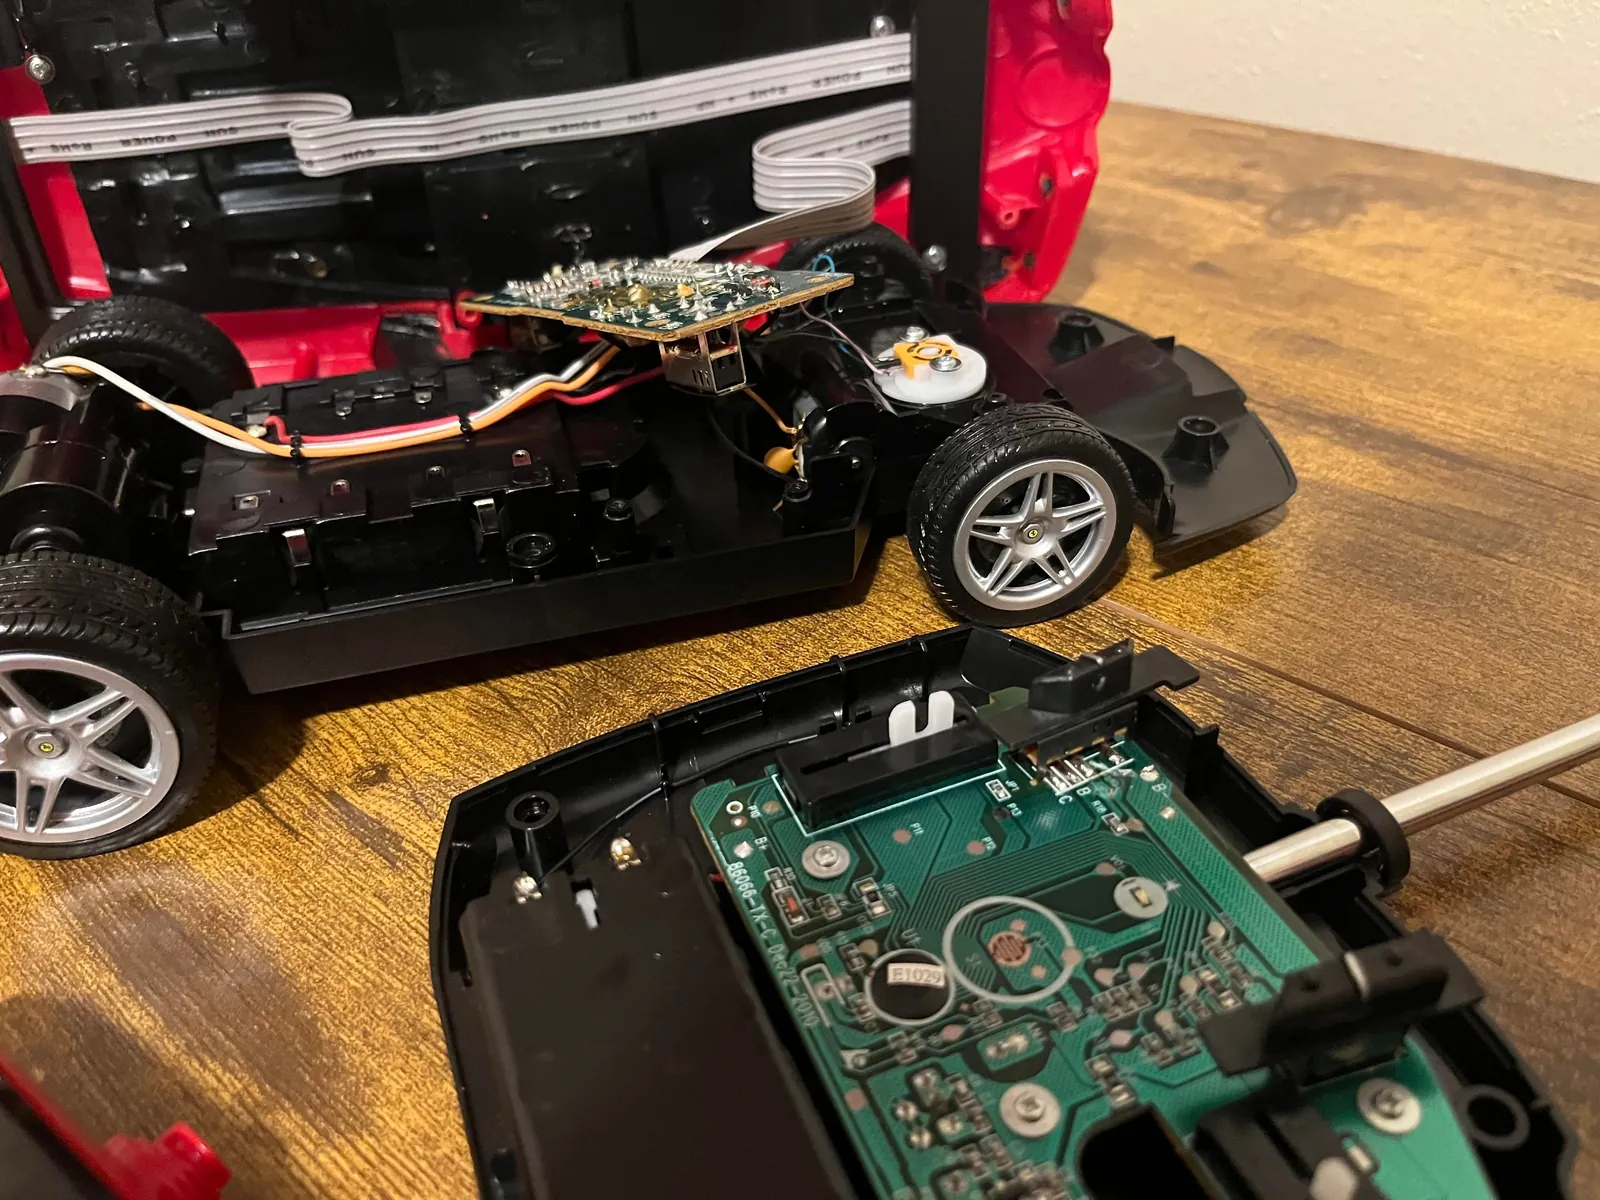
This table ranks the issues from the most common to the most complex. Use it to narrow down why your vehicle isn’t responding to your inputs.
| Cause | How common | How to confirm it | Fix it yourself? |
|---|---|---|---|
| Low transmitter batteries | Very common | Replace with fresh cells | Yes |
| Disconnected steering linkage | Common | Check for loose rods | Yes |
| Low vehicle battery | Common | Charge the battery pack | Yes |
| Stripped servo gears | Occasional | Listen for grinding sounds | Yes with care |
| Damaged steering servo | Rare | No movement despite power | No |
| Binding steering parts | Rare | Feel for physical resistance | Yes |
If your transmitter batteries are fresh but the vehicle remains unresponsive, have a technician check the main battery pack, as it may lack the current required to drive the servo motor despite powering the lights.
Most beginners mistake a stripped servo gear for a dead motor. If you hear a high-pitched buzzing or grinding sound when turning the wheel, the motor is fine, but the internal nylon teeth have sheared. You can replace the gear set for a modest cost, which is far cheaper than buying a new servo.
Binding is the most overlooked cause of failure. Disconnect the steering linkage from the servo horn and move the wheels by hand. If you feel gritty resistance or a sticking point, the issue is in the steering knuckles, not the electronics. Clean the pivot points with a dry lubricant to restore smooth motion.
If you’re running in cold weather, plastic parts become brittle. A hard impact that would be harmless in summer can snap a steering rod or crack a servo case in freezing temperatures. In these conditions, inspect the plastic for stress lines or white marks before every run.
Depleted transmitter or vehicle batteries
Most of the time, the problem starts with a simple lack of power. When the transmitter batteries lose their charge, the signal strength drops, and the car stops responding to steering commands even if it can still drive forward. Similarly, if the vehicle’s main battery is low, the steering servo often loses its ability to pull the wheels against the weight of the car.
Start by replacing the AA or AAA batteries in your remote control with a brand-new set from a trusted brand. If the steering still doesn’t work, move to the vehicle battery. Plug the main battery into its charger and wait until the indicator light shows a full charge. If you use a lithium-polymer battery, ensure you follow the charging and safety instructions provided by your battery manufacturer.
If the steering remains unresponsive after a full charge, the issue is likely internal. Check the physical connection between the servo and the wheels. If you see a rod hanging loose, snap it back into its ball joint. This usually takes only a few minutes. If you’re unsure if the battery is the issue, try a different, known-good battery pack of the same voltage.
Mechanical binding in the steering system
If the electronics are working but the wheels stay stuck, debris or physical resistance is likely the culprit. Rocks, grass, or dirt often get caught in the steering knuckles or the bell crank assembly. This prevents the servo from moving the wheels, even if it’s receiving a strong signal.
To test for this, turn the car off and gently push the wheels by hand. They should move smoothly from left to right without any grit or major resistance. If you feel a crunch or a hard stop, look for small pebbles or twigs wedged near the front axles. Remove any debris with a pair of tweezers or a small brush.
If the wheels move freely but the servo still can’t turn them, the servo saver might be adjusted too loosely. This part acts as a shock absorber for the steering. If it’s too loose, it slips before the wheels move. Tighten the collar on the servo saver slightly, but don’t overtighten it, or you might break the internal gears.
A common mistake is assuming the servo is burned out when the linkage is simply misaligned. If the wheels move easily when disconnected from the servo arm but bind when attached, the geometry of your steering links is off. Ensure the turnbuckles are of equal length and not bent. A bent rod creates a mechanical bind that forces the servo to fight itself, leading to premature motor failure.
If you encounter resistance only at the extreme ends of the steering throw, your steering endpoints are set too high. Adjust your transmitter’s dual-rate settings to stop the servo before it reaches its physical limit. If the servo continues to hum or buzz after reaching its stop, it’s drawing excessive current and will eventually strip its own plastic gears.
Stripped internal servo gears
When you hear a loud buzzing or grinding noise coming from the car while you turn the steering wheel, the internal gears of the servo are likely stripped. This happens when the wheels hit an obstacle too hard, causing the teeth inside the servo to break. Once the teeth are gone, the motor spins, but the output arm doesn’t move the wheels.
You can confirm this by removing the steering linkage from the servo arm. Turn the transmitter on and move the steering stick. If the servo arm spins freely or makes a grinding sound while the arm stays still, the gears are damaged. This is a common failure point for entry-level vehicles that use plastic internal gears.
If you find that the arm moves under light pressure but slips when you hold the wheels, the gears are only partially worn. In this case, you can often finish a race day by tightening the servo saver spring. If the arm doesn’t move at all, the damage is total and the unit must be replaced.
Don’t attempt to open the servo case to glue or repair individual plastic teeth. The torque requirements inside the housing are too high for adhesives, and a repaired gear will almost always fail within minutes of operation. You’ll only waste time and risk damaging the internal motor.
Replacing the servo is the only permanent fix. Most modern RC cars use a standard-sized servo that’s easy to swap. Check your manual for the specific dimensions required. If you aren’t comfortable working with small electronic components, take the vehicle to a local hobby shop. They can verify if the servo is indeed broken and help you find a replacement that fits your specific model.
When buying a replacement, look for a servo with metal gears if your budget allows. Plastic gears are prone to stripping on any impact, while metal gears can withstand significantly higher shock loads before failing. This upgrade prevents the same issue from recurring after your next minor collision.
Less likely causes for steering issues
A broken or bent antenna on the transmitter or receiver prevents the signal from reaching the car. Check the wire for kinks or sharp bends that could have severed the internal copper core. If the antenna is detached at the base, don’t attempt a makeshift splice, as this will cause signal interference that leads to erratic, twitchy steering.
Water or moisture causes rust on the plug connecting the servo to the receiver. If you see white or green crust on the pins, use a soft toothbrush and 90% isopropyl alcohol to gently scrub the contact points. If the corrosion has pitted the metal, the connector will no longer hold a steady current, and you must replace the entire wire harness.
If the car drives but won’t steer, the channel on the receiver board might be faulty. Plug the steering servo into the throttle channel port instead. If the servo suddenly responds to the throttle trigger, the receiver’s steering channel is dead.
Some digital remotes need a reset to center the steering trim properly. If the wheels sit at an angle while the transmitter is off, navigate to the “Sub-Trim” menu in your remote settings. Reset all values to zero before adjusting the physical linkage.
If the internal circuit board is faulty, contact the manufacturer for repair. Never attempt to solder the board yourself. Amateur soldering creates microscopic bridges between circuits, which can cause a short circuit or a fire hazard. Modifying the board also voids your warranty, leaving you with no recourse if the unit fails entirely.
Repair costs and requirements
Fixing steering issues usually requires only basic tools like a small screwdriver or a pair of needle-nose pliers. If a part is broken, the cost of a replacement servo is typically comparable to the price of a few spare battery packs. The total time for a repair ranges from ten minutes for a simple linkage adjustment to an hour if you need to replace the entire servo unit.
Most beginners mistake a stripped gear for a dead motor. If the servo hums but the wheels don’t turn, you only need a replacement gear set, which costs about one-third of a full unit. If the steering is erratic or jitters while idle, the internal potentiometer may be dirty or worn. In this case, cleaning with electronic contact cleaner can often resolve the issue, though a full replacement may be necessary if the component is physically worn.
The final cost depends on the model of your vehicle and whether you choose original parts or aftermarket upgrades. Before you buy anything, check the part number listed in your owner’s manual or on the manufacturer’s website.
If you aren’t sure which part you need, take the car to a hobby store and ask them to match the servo size and plug type. They can often test the unit on their equipment to confirm it’s the failed component before you spend money on a new one.
Always verify the torque rating before purchasing an aftermarket upgrade. If you install a high-torque servo without a metal gear upgrade, the increased force will likely snap your steering linkage during the first sharp turn. If your vehicle features a plastic chassis, stick to the manufacturer’s recommended torque specs to avoid cracking the mounting points. When in doubt, buy the exact part number listed in your manual.