
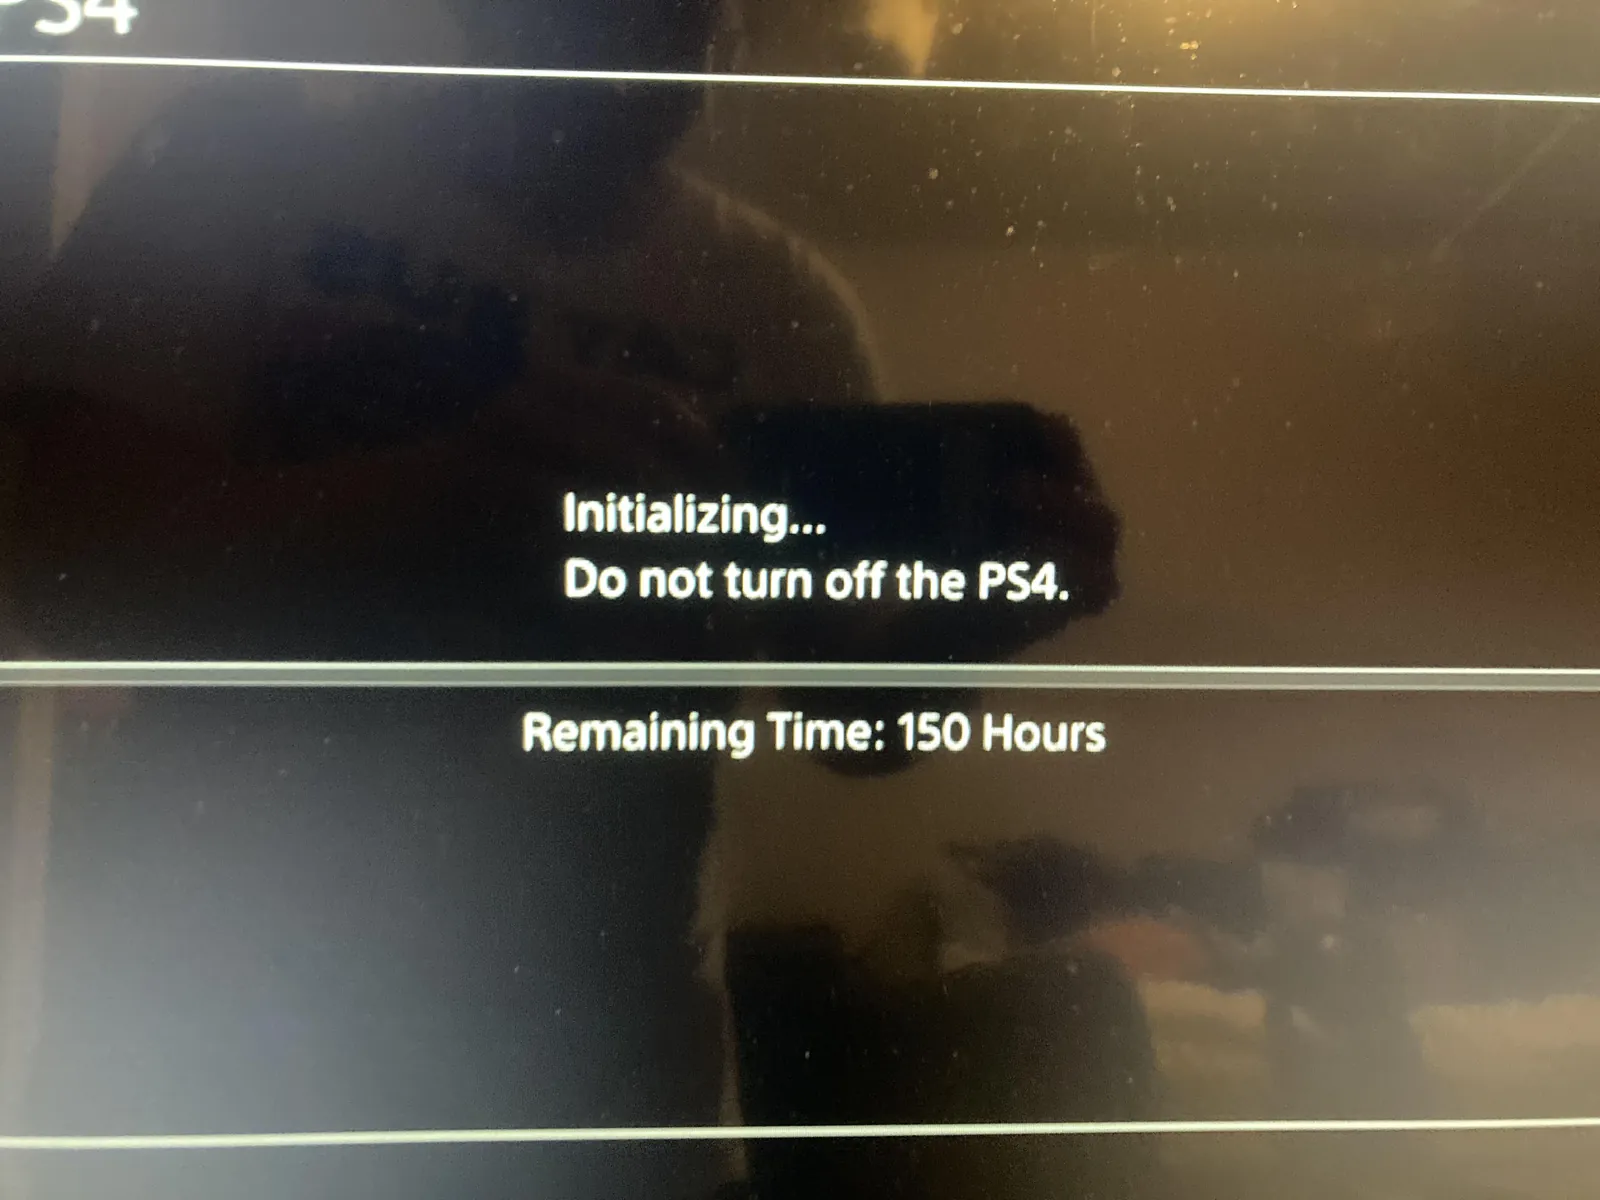
Seeing the screen go dark or frozen when your PlayStation console fails to start up correctly is a frustrating experience for any gamer. When you find your playstation not initializing, it usually signals that the system software has become corrupted or the internal storage drive is struggling to communicate with the motherboard. While this often feels like a terminal hardware failure, most users can resolve the issue through specific recovery protocols provided by the console manufacturer. Before assuming the hardware is broken beyond repair, you must work through a series of systematic software resets and safe mode operations to restore functionality.
Key Takeaways
- Accessing Safe Mode is the primary method to resolve system software corruption without immediately losing your personal data.
- Updating your system software via a USB flash drive can bypass errors that occur during standard boot-up sequences.
- A factory reset or full initialization is the final software-based solution but will permanently delete all saved data on the console.
- If software fixes fail, you may need to replace the internal hard drive or seek professional hardware repair services.
- Always ensure your console is plugged directly into a wall outlet during these processes to avoid power-related interruptions.
Understanding the Boot Failure
When a console stops booting, it’s often because the system software has encountered a critical error during the startup sequence. This can happen after an interrupted update, a sudden power loss, or a physical shock to the device while it’s running. The initialization process is the stage where the console loads the operating system from the storage drive into memory. If the console can’t read the necessary files, the boot loop or error screen appears.
Common Causes for Initialization Errors
- Corrupted system files resulting from power surges or sudden disconnections.
- Fragmented data on the internal hard drive or SSD.
- Outdated firmware that conflicts with recent game installations.
- Hardware degradation of the storage medium over long periods of use.
- Overheating issues that force the system to halt during the boot process.
How to Enter Safe Mode
Safe Mode is a diagnostic environment that allows you to troubleshoot the console without loading the full operating system. This mode restricts functionality to basic drivers and essential system services, making it the ideal environment for fixing a console that won’t initialize properly.
To enter Safe Mode, ensure the console is powered off completely. Press and hold the power button on the front of the unit. You’ll hear one beep immediately; continue holding the button for about seven seconds until you hear a second beep. Release the button and connect your controller using a USB data cable, as Bluetooth connectivity is disabled in this mode. Once connected, press the PlayStation button to bring up the menu.
| Action | Function | Expected Outcome |
|---|---|---|
| Restart Console | Reboot the system | Normal startup attempt |
| Clear Cache | Remove temporary files | Improved system stability |
| Update Software | Patch system firmware | Fixes known software bugs |
| Initialize PS4/PS5 | Reset to factory state | Deletion of all user data |
Troubleshooting Through Software Updates
If your console is stuck, the first step within Safe Mode is to select the option to update the system software. This process replaces potentially corrupted files with fresh, stable versions provided by the manufacturer. You can perform this update via the internet if your console can establish a connection, or via a USB drive if the network adapter is unresponsive.
Updating via USB Drive
To use the USB method, you must prepare a flash drive formatted to FAT32 or exFAT. Create a folder named “PS4” or “PS5” on the drive, and within that, create another folder named “UPDATE”. Download the official PlayStation system software update file from the manufacturer’s website and place it in the UPDATE folder. Insert the drive into the console, select “Update System Software” in Safe Mode, and follow the on-screen prompts to complete the installation.
Warning: Using an incorrect file structure on your USB flash drive will prevent the console from recognizing the update file, so verify the folder naming conventions carefully before proceeding.
Clearing the System Cache
Sometimes, the console fails to initialize because of temporary files that have become corrupted or conflicting. Clearing the cache is a safe operation that doesn’t delete your saved games or user profiles. In the Safe Mode menu, look for the option labeled “Clear Cache and Rebuild Database.” This process reorganizes the data on your storage drive, which can resolve minor file system errors that prevent the operating system from loading correctly.
Pro Tip: If the console remains unresponsive after a standard cache clear, perform a “Rebuild Database” specifically. This scans the entire drive and creates a new index of all content, which often fixes issues where the system can’t find the boot partition.
When to Initialize the Console
If you have tried updating the software and rebuilding the database without success, you may need to perform a full initialization. This is the “nuclear option” for software repair. It returns the console to its factory settings, which means every game, save file, and user profile will be erased permanently.
Preparing for Full Initialization
- Ensure you have a cloud backup of your saved game data if you’re a subscriber to the online service.
- Back up any media files or screenshots to an external storage device if possible.
- Check that your internet connection is stable, as the system may need to re-download the latest firmware during this process.
- Ensure the power supply is consistent, as a shutdown during initialization can permanently brick the console.
Addressing Hardware Failure Signs
If you have attempted every software fix and the system still fails to initialize, the internal storage drive may have reached its end-of-life. Mechanical hard drives in older consoles are particularly susceptible to physical wear. If you hear clicking noises or the system reports “Can’t access system storage,” this is a strong indicator that the drive itself has failed and requires a physical replacement.
Signs of Hardware Failure
- Loud, repetitive clicking sounds coming from the console chassis.
- The console repeatedly freezes at the exact same percentage during updates.
- Error codes that specifically reference the storage device or “HDD/SSD” health.
- The console takes an abnormally long time to load the Safe Mode menu.
Replacing the Internal Storage
Replacing the internal drive is a standard procedure for most consoles. For the PS4, you can slide off the hard drive bay cover and remove the single screw holding the drive caddy in place. For the PS5, you must remove the side panels to access the M.2 SSD slot or the internal drive bay. Always ensure you purchase a drive that meets the specific capacity and speed requirements outlined by the manufacturer.
| Component | Replacement Type | Difficulty Level |
|---|---|---|
| PS4 Hard Drive | 2.5-inch SATA HDD/SSD | Low |
| PS5 Internal SSD | M.2 NVMe Gen4 SSD | Medium |
| PS5 Internal HDD | Proprietary Connector | High |
Can You Repair the Console Yourself?
For many users, the answer is yes, provided the issue is software-related. However, if the issue stems from a damaged motherboard or a failed power supply unit, professional repair is the safest route. Attempting to solder components or disassemble the power supply can be dangerous due to high-voltage capacitors remaining inside the unit, even when unplugged. If you’re uncomfortable with hardware disassembly, contact an authorized service center.
Frequently Asked Questions
Does Safe Mode delete my games?
No, using the standard options in Safe Mode, such as restarting the console, clearing the cache, or updating the software, won’t delete your installed games or save files. However, selecting the “Initialize” option will perform a complete factory reset, which erases all data from the internal storage. Always verify which option you’re selecting before confirming the action in the menu.
Why does my console keep asking to plug in a controller?
The console requires a wired connection to the controller because Bluetooth drivers aren’t initialized during the early stages of the boot process or within Safe Mode. You must use a high-quality USB data cable that supports both power and data transfer. If your cable is only for charging, the console won’t detect the controller input.
What if the update file isn’t recognized?
This usually happens if the folder structure on your USB drive is incorrect or if the file name isn’t exactly “PS4UPDATE.PUP” or the equivalent for your model. Ensure the drive is formatted to FAT32 or exFAT and that the folders “PS4” and “UPDATE” are in all capital letters. Double-check that you downloaded the full installation file rather than the smaller update-only file.
Is my console broken if it won’t boot?
Not necessarily. Many “broken” consoles are simply suffering from a corrupted system software partition that can be fixed by reinstalling the OS via a USB drive. If the system can still enter Safe Mode, the motherboard is likely functioning correctly. Only when the console fails to display the Safe Mode menu after multiple attempts should you consider the possibility of a permanent hardware failure.
Should I try a different power outlet?
Yes. Sometimes a console fails to initialize because it isn’t receiving a stable flow of power, which can cause the internal storage to disconnect or error out during the boot process. Try plugging the console directly into a wall outlet rather than using a power strip or surge protector. This eliminates the possibility that a failing power strip is causing voltage drops during high-power-draw operations.
Conclusion
If you have tried all the steps above and the console still refuses to initialize, your next step is to visit the official support portal to check if your unit is still under warranty. You can submit a repair request directly through the manufacturer’s website to have a certified technician inspect the internal hardware for component failure or permanent storage corruption.