
A drop in milk output caused by a Momcozy M5 that lacks proper suction is stressful for any nursing parent. Weak or absent vacuum pressure usually results from a mechanical misalignment or a worn part rather than a device failure. You can typically restore full functionality in minutes by checking the assembly, cleaning the components, and adjusting the power settings.
Key Takeaways
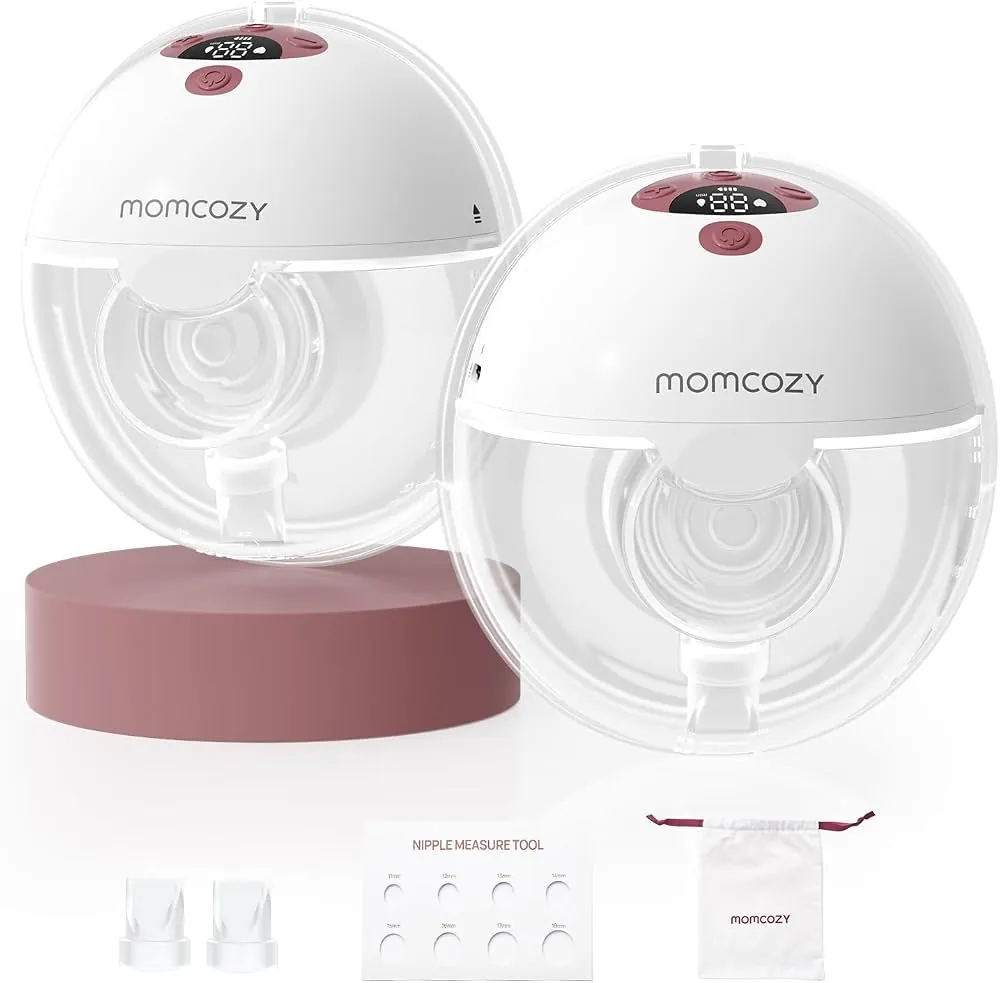
- Inspect all silicone parts for microscopic tears or stretched edges that compromise the vacuum seal.
- Ensure the flange size matches your anatomy to prevent air leaks and ineffective suction.
- Verify that the battery is fully charged, as low power levels can significantly reduce motor performance.
- Check that the duckbill valve is seated perfectly flush against the bottom of the collection cup.
- Perform a dry test of the motor unit alone to rule out internal mechanical issues.
Understanding the Suction Mechanism
The M5 operates using a closed-system design where vacuum pressure is generated by the motor and transmitted through the diaphragm to the collection cup. If the path between the motor and the breast is interrupted, the vacuum seal breaks. Most suction issues are caused by improper assembly or debris preventing the parts from creating an airtight environment.
Why Is My Pump Not Pulling?
If you notice the pump is running but nothing is happening, start by checking your silicone diaphragm. This component is the engine room of the vacuum. If it isn’t snapped into place firmly or if there’s a tiny pinhole tear in the material, the air pressure will escape before it can reach your breast. Always ensure the edges are tucked securely into the rim of the cup.
Inspecting Your Pump Components
Regular maintenance is vital for longevity. Over time, silicone parts lose their elasticity. If you have been using the same set of valves and diaphragms for more than three months, they may be suffering from material fatigue.
| Component | Potential Issue | Inspection Method |
|---|---|---|
| Duckbill Valve | Tears or debris | Check for light shining through slits |
| Silicone Diaphragm | Misalignment | Ensure rim is flush with the cup |
| Flange/Insert | Poor seal | Check for gaps against breast skin |
| Tubing/Seal | Blockages | Inspect for milk residue or film |
Is the Flange Size Correct?
One of the most common reasons users report poor suction is an incorrect flange fit. If the flange is too large, your nipple will rub against the sides, causing pain and preventing the pump from creating a proper seal around the areola. Conversely, if it’s too small, the nipple will drag, which can also impede the flow.
Pro Tip: Use a nipple ruler to measure your diameter before and after a pumping session, as your size can change due to swelling or stimulation.
Troubleshooting Motor and Power Issues
Sometimes the problem isn’t the physical seal but the delivery of power. If the M5 motor sounds sluggish or makes a grinding noise, it may be struggling with a low battery. Always use the original charging cable provided by the manufacturer to ensure the voltage consistency required for the motor to reach its peak suction strength.
Steps to Reset the Unit
- Power off the device completely.
- Disconnect the cup from the motor housing.
- Charge the unit until the indicator light shows a full capacity.
- Reassemble all parts, ensuring every silicone edge is dry and free of oil.
- Test the suction by placing your finger over the flange opening while the motor is set to the highest level.
Cleaning and Maintenance Best Practices
Residue buildup is a silent killer of suction. Even a thin film of breast milk can prevent parts from sticking together properly. You should sanitize your parts at least once a day and perform a deep clean after every use.
- Warm soapy water: Use mild dish soap to remove fats.
- Boiling: Submerge non-motor parts in boiling water for 3-5 minutes.
- Air drying: Always let parts dry completely before reassembling.
Warning: Never place the motor unit in water or any liquid, as this will permanently damage the internal electronic components and void your warranty.
How to Test the Vacuum Seal
To determine if your pump is actually working, perform a “finger test.” Turn the pump on to its highest suction level. Place your finger firmly over the opening of the flange. You should feel a strong, consistent pull. If you feel air escaping or the suction is weak, the air is leaking somewhere in the assembly chain. Check the duckbill valve specifically, as this is the most frequent point of failure.
Troubleshooting the Duckbill Valve
The duckbill valve is the gatekeeper of your vacuum. If it isn’t inserted straight or if the “bill” is stuck together or frayed, the vacuum will fail. Ensure the valve is pushed firmly into the flange base. If it feels loose, it needs to be replaced immediately. Many users keep a stash of spare silicone valves to swap out whenever suction performance begins to wane.
When to Contact Support
If you have replaced the silicone parts, verified the battery is charged, and checked the assembly but the pump still fails to pull, you may have a faulty motor. Before concluding the device is broken, check for any visible cracks in the plastic collection cup. A hairline fracture in the plastic can break the vacuum seal just as effectively as a torn valve.
Frequently Asked Questions
Why does my pump stop suctioning halfway?
This often happens when the collection cup becomes too full or when the silicone diaphragm becomes saturated with condensation. If milk backs up into the flange or if the diaphragm gets wet, the vacuum seal is compromised. Pause the pump, empty the collection cup, and wipe the diaphragm dry with a clean cloth before restarting the session.
How often should I replace the valves?
You should replace your duckbill valves every 4 to 8 weeks depending on the frequency of your pumping sessions. If you pump exclusively, you’ll need to replace them more often than someone who pumps once a day. If you notice the edges of the valve are no longer closing tightly, replace them immediately to maintain optimal suction power for every session.
Can I use different brand parts?
It’s strongly recommended to use only parts specifically designed for your model. Using off-brand or incompatible parts can cause the motor to work harder than intended, leading to premature failure. Furthermore, using non-official parts can create an improper seal that makes your pump seem like it has lost suction, even if the motor itself is perfectly healthy and fully functional.
What if the motor is fully charged but weak?
If the motor is fully charged but fails to provide adequate suction, there may be an internal issue with the vacuum pump mechanism. First, try a hard reset by turning the unit off and leaving it off for ten minutes. If the issue persists, inspect the port where the motor attaches to the cup for any debris or sticky milk residue that might be blocking the air channel.
Are there environmental factors affecting suction?
Yes, high humidity or extreme cold can affect the flexibility of silicone parts. If you’re pumping in a very cold room, the silicone may become stiff, preventing a proper seal. Try warming the silicone parts in your hands before assembly. Additionally, ensure your skin is dry and free of lotions or oils, which can cause the flange to slip and lose its seal during the session.
Conclusion
If you have exhausted all these steps and the device still refuses to pull effectively, verify your warranty status through the official manufacturer portal. Keeping a secondary set of spare parts on hand is the most reliable way to ensure you’re never caught without a working pump during a busy day. Start by replacing your duckbill valves today to see if that resolves the issue.