
Dealing with a hyperx cloud headset mic not working can be frustrating, especially when you’re in the middle of a gaming session or an important video conference. These headsets are popular for their build quality and audio fidelity, but like any piece of hardware, they rely on a specific chain of communication between the physical connection, the software drivers, and the operating system settings. Most issues are minor configuration errors rather than permanent hardware failures, meaning you can often restore your microphone functionality by methodically checking your settings and physical connections.
Key Takeaways
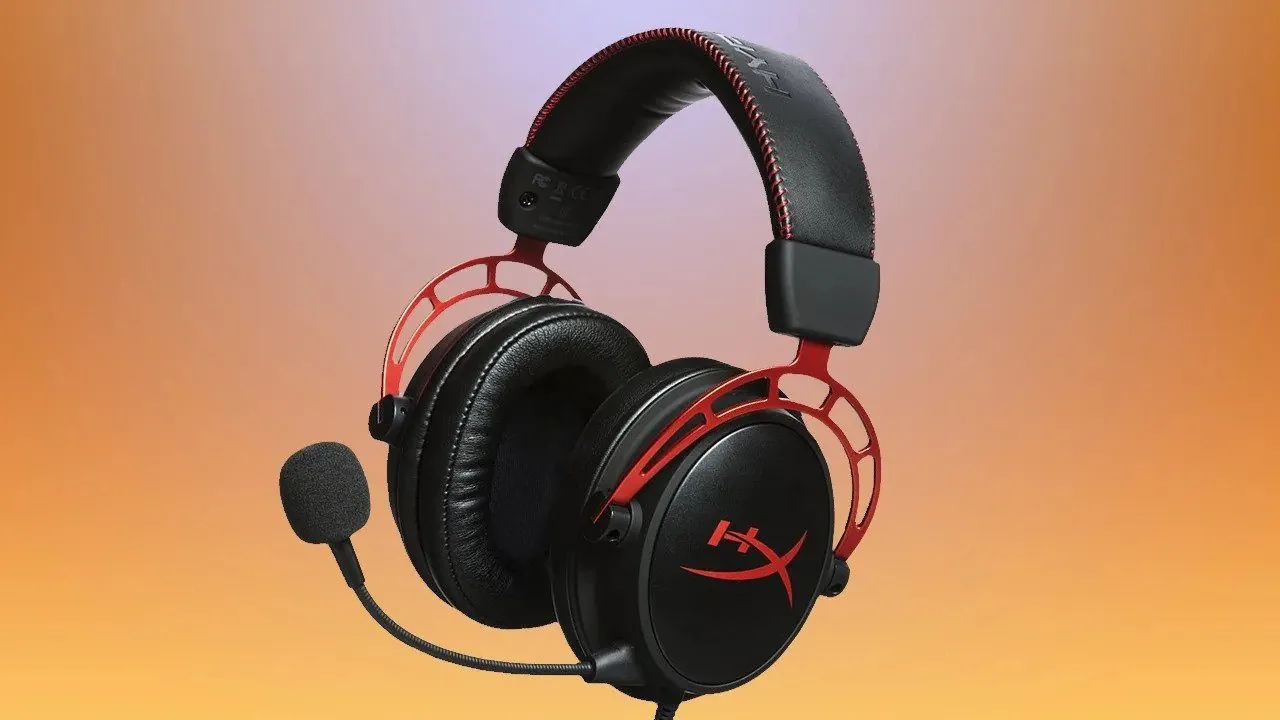
- Check that the physical mute switch on your cable or headset isn’t toggled to the off position.
- Verify that your headset is selected as the default input device within your Windows or macOS sound settings.
- Ensure that your privacy settings allow your applications to access your microphone hardware.
- Update your audio drivers through the device manager to resolve potential communication conflicts.
- Test your headset on a different device to rule out a complete hardware failure of the microphone boom.
Safety: Inside a mains-powered machine, the parts behind the outer cover can hold a dangerous electrical charge even after it has been unplugged — that’s why they sit behind a cover. Opening the housing, or testing or replacing anything behind it, is a job for a qualified technician, never a home repair.
Checking Physical Connections
The most common reason for a silent microphone is a loose or improper physical connection. Many HyperX headsets use a 3.5mm jack that must be fully inserted into the controller, console, or PC port. If you’re using a PC, ensure you’re plugging the headset into the correct port. Most desktops have separate jacks for audio output and microphone input, often color-coded in green and pink.
| Connection Type | Common Issue | Solution |
|---|---|---|
| 3.5mm Analog | Loose plug | Push firmly until a click is felt |
| USB Dongle | Driver conflict | Reconnect to a different USB port |
| Wireless Receiver | Range limitation | Move closer to the USB base |
| Splitter Cable | Incorrect wiring | Ensure both ends are fully seated |
Physical inspection is the first step. Look for any kinks or fraying in the cable, as damage to the internal wiring can prevent the signal from reaching your computer. If you have a detachable microphone boom, remove it and reinsert it, ensuring the alignment notch is correctly oriented. Sometimes, debris in the jack or the port can cause a poor connection, so a quick visual check can save you hours of software troubleshooting.
Is My Mute Switch Active?
Many gamers inadvertently toggle the mute switch located on the inline control box or the ear cup itself. Before diving into complex system settings, double-check the physical mute button. Some models feature a slider that shows a red indicator when muted, while others have a button that clicks. If you’re using a wireless model, check the LED indicator on the microphone itself, as some models have a light that turns red when the microphone is muted.
It’s easy to bump this switch without noticing. Ensure it’s set to the “unmuted” position. If you’re using a third-party application like Discord or TeamSpeak, check the overlay or the application status as well. Sometimes, the software mute and the hardware mute act independently, and having either one active will silence your voice completely.
Configuring Windows Sound Settings
If your hardware is connected properly, the issue likely lies within the Windows settings. Windows often switches input devices automatically when updates are installed or when other USB devices are plugged in. To fix this, navigate to your sound settings and ensure your headset is the primary choice.
- Right-click the speaker icon in your system tray.
- Select “Sounds” or “Sound Settings.”
- Go to the “Input” tab.
- Ensure your HyperX headset is selected in the input device list.
- Speak into the microphone to see if the volume bar moves.
If the bar doesn’t move, your computer isn’t receiving a signal. Check the “Device Properties” to ensure the microphone volume is turned up to 100% and that the device isn’t disabled. You can find the official troubleshooting documentation for these devices on the HyperX official support website.
Managing Microphone Privacy Permissions
Windows 10 and 11 have strict privacy settings that can block applications from using your microphone. Even if the device is enabled in the sound menu, the operating system might be actively denying access to your browser, game, or communication software.
- Open the Windows Settings menu.
- Navigate to “Privacy & Security.”
- Select “Microphone” from the sidebar.
- Ensure “Microphone access” is toggled to “On.”
- Verify that “Let apps access your microphone” is also enabled.
Check the list of specific apps below the toggle switches. If you’re trying to use the headset in a specific program like Discord, OBS, or Zoom, ensure that the permission toggle for that specific application is set to “On.” Without these privacy permissions, the software will treat the microphone as if it doesn’t exist, regardless of your hardware status.
Updating Your Audio Drivers
Outdated or corrupt drivers are a frequent culprit for audio issues. When Windows updates, it may sometimes overwrite your specific audio drivers with generic ones that don’t support all the features of your headset. You should check the Device Manager to see if your headset is recognized correctly or if it’s showing an error.
- Right-click the Start button and select “Device Manager.”
- Expand the “Sound, video and game controllers” section.
- Look for your HyperX headset in the list.
- Right-click the device and select “Update driver.”
- Choose “Search automatically for drivers.”
If that doesn’t work, you can select “Uninstall device,” then unplug your headset and plug it back in. Windows will automatically attempt to reinstall the necessary drivers from scratch. This driver refresh often clears out temporary conflicts that prevent the microphone from being recognized as a valid audio input source.
Testing on Different Devices
To determine if you’re dealing with a software issue or a hardware failure, you must perform a cross-platform test. If possible, plug your headset into a smartphone, a tablet, or a gaming console like a PlayStation or Xbox. If the microphone works on these other devices, the problem is definitely related to your PC settings or drivers.
| Device Type | Testing Method | Expected Outcome |
|---|---|---|
| Smartphone | Voice memo app | Audio recording playback |
| Gaming Console | Party chat menu | Mic test bar movement |
| Secondary PC | Discord settings | Visual input detection |
If the microphone doesn’t work on any device you try, the microphone boom itself may be broken. HyperX headsets are durable, but the internal wiring within the detachable boom can wear out over time with repeated insertion and removal. If you find the hardware is faulty, check your purchase date to see if you’re still covered under the manufacturer’s warranty.
Using the Correct Adapter
Many users encounter issues when using the wrong adapter cable. HyperX Cloud headsets often come with a Y-splitter cable for PC use, which separates the audio and microphone signals. If you’re plugging your headset into a laptop that has a single combo jack, you shouldn’t use the Y-splitter. Conversely, if your desktop PC has separate ports, you must use the Y-splitter.
Using the wrong configuration can lead to the headset audio working while the microphone remains silent. Ensure that the connector rings on your jack match the hardware port. A TRRS (four-pole) plug is designed for combo jacks, while a TRS (three-pole) setup is required for separate microphone and headphone jacks. Always verify that the plug is pushed all the way in; sometimes, the rubber casing on the cable can prevent a full connection if it’s too thick.
Frequently Asked Questions
Why does my headset show up as speakers?
This happens because the computer is identifying the headset as an output-only device. This is common when using a 3.5mm connection on a port that doesn’t support microphone input. Ensure you’re using the correct port on your computer and that your audio driver is configured to recognize the headset as a “Headset” rather than just “Headphones.”
Can a firmware update fix my mic?
Yes, if you’re using a wireless HyperX headset, a firmware update can resolve communication issues between the USB dongle and the headset. You can download the official software from the manufacturer’s website to check for updates. Firmware updates often patch bugs that prevent the microphone from initializing correctly during the startup sequence of the headset.
How do I know if my mic is physically broken?
If you have tested the headset on multiple devices—such as a phone, a console, and another PC—and the microphone still doesn’t register any sound, the hardware is likely defective. Check the detachable microphone boom for any bent pins or debris in the connector. If the boom is physically intact but still fails on all devices, the internal wiring has likely failed.
Should I use the USB dongle or 3.5mm jack?
The USB dongle is recommended because it includes an integrated sound card that ensures consistent audio and microphone quality across different computers. Using the 3.5mm jack relies on your computer’s built-in motherboard audio, which can sometimes be prone to electrical interference or lower-quality signal processing. If you have the USB dongle, use it for the most stable experience.
What if my microphone is too quiet?
If your microphone is working but the volume is very low, go to your Sound Control Panel, right-click your headset under the “Recording” tab, and select “Properties.” Under the “Levels” tab, ensure the microphone volume is set to 100. You can also adjust the “Microphone Boost” setting, though be careful, as setting this too high can introduce background static and distortion to your audio.
Conclusion
Troubleshooting your headset requires patience, but by following these steps, you can isolate the issue and get back to your activities. Start by verifying your physical connections and checking for any active mute toggles, as these are the most common culprits. If the problem persists, move through the software settings and driver updates systematically. If you still can’t get the microphone to function, reach out to the manufacturer for potential warranty assistance.