Have you ever faced the issue of your flight controller not getting power from the battery? This common problem can be frustrating, especially when you’re eager to get your drone in the air.
In this blog post, we’ll explore why your flight controller might not be receiving power from the battery. We’ll look at common causes and simple solutions. Understanding these factors can save you time and prevent headaches. So, let’s dive in and troubleshoot this issue together.
By the end, you’ll have a clearer idea of how to get your flight controller powered up and ready to go.

Credit: www.amazon.com
Common Causes
When your flight controller isn’t getting power from the battery, it can be frustrating. Several common causes can lead to this issue, and identifying them can save you time and effort. Let’s dive into some of the usual suspects.
Loose Connections
Loose connections are often the culprit behind power issues in flight controllers. Even if everything appears to be connected, a slight wiggle can disrupt the power flow.
Imagine you’re about to launch your drone and it suddenly powers down. You might have a loose connection somewhere. Double-check all the connectors and ensure they are snug.
Loose connections can occur due to vibrations during flight or during transportation. Always inspect your connections before each flight to avoid mid-air surprises.
Faulty Wiring
Faulty wiring can also prevent your flight controller from receiving power. A damaged wire or a poorly soldered joint can break the power circuit.
Think back to the last time your drone crashed. Even a minor crash can damage the wiring, leading to power issues. Examine the wiring closely for any visible damage.
If you find a damaged wire, replace it immediately. It’s a small fix that can save you a lot of headaches in the future.
Are you using the right gauge of wire for your setup? Using wires that are too thin can cause power delivery problems. Always use wires that match the power requirements of your flight controller.
Understanding these common causes can help you troubleshoot and fix power issues quickly. Have you ever encountered these problems? How did you solve them?
Initial Checks
Experiencing issues with your flight controller not getting power from the battery can be frustrating. Before diving into complex solutions, start with some initial checks. These checks can help you identify the problem quickly. Let’s walk through the essential steps to ensure your flight controller is getting the power it needs.
Battery Voltage
Begin by checking the battery voltage. A fully charged battery should have the correct voltage. Use a multimeter to measure the voltage. Make sure it matches the specifications for your flight controller. Low battery voltage can cause power issues. If the voltage is low, charge the battery fully before testing again.
Power Distribution Board
Next, inspect the power distribution board (PDB). Ensure it is connected properly. The PDB distributes power from the battery to various components. Check for any loose connections or damaged wires. A faulty PDB can prevent your flight controller from receiving power. Replace any damaged parts to restore proper function.
Performing these initial checks can often resolve the issue quickly. Always verify battery voltage and inspect the power distribution board. These steps ensure a smooth troubleshooting process for your flight controller.
Inspecting Connections
When your flight controller isn’t getting power from the battery, it can be frustrating. The first step in troubleshooting is inspecting the connections. A thorough check can often reveal the root of the problem and save you time and effort.
Battery Connectors
The battery connectors are crucial for transferring power to your flight controller. Start by examining the connectors for any visible damage. Bent pins or corrosion can impede power flow.
Ensure that the connectors are firmly attached. Sometimes, they can become loose due to vibrations during flight. A snug fit is essential for a reliable connection.
If you have spare connectors, try swapping them out. This can help you determine if the connectors themselves are faulty.
Solder Joints
Solder joints are another critical area to inspect. Poor soldering can lead to intermittent power issues. Look closely at the joints for any cracks or incomplete connections.
A cold solder joint, which appears dull and grainy, can be a common problem. Reflow the solder using a soldering iron to ensure a solid connection.
You might find it helpful to use a magnifying glass for a detailed inspection. Small imperfections can be easily overlooked.
Have you checked both battery connectors and solder joints? Sometimes, a simple fix can get your flight controller back in the air. What other troubleshooting methods have you tried? Share your experiences below!

Credit: www.amazon.com
Testing Battery
Flight controller not receiving power from the battery might indicate a connection issue. Check the battery connections and ensure wires are intact. Also, verify if the battery has a charge.
Testing BatteryEnsuring your flight controller is getting power from the battery is crucial for smooth drone operation. Sometimes, the issue lies with the battery itself. Testing your battery is a simple yet effective way to diagnose power issues. Here’s how you can do it.Multimeter Use
Using a multimeter is one of the easiest ways to test your battery. First, set your multimeter to measure voltage.Connect the multimeter probes to the battery terminals. You should see a voltage reading.If the voltage is significantly lower than the battery’s rated voltage, your battery might be the problem. A healthy battery will have a voltage close to its rated value.Load Test
A load test can give you a better idea of your battery’s health. This test simulates the conditions under which the battery will operate.Attach a load to the battery, such as a small motor or a resistor. Measure the voltage again with the multimeter.If the voltage drops significantly under load, your battery might be failing. This kind of drop indicates that the battery can’t handle the power demands of your flight controller.Have you ever faced an issue where your drone didn’t power up despite having a fully charged battery? Share your experiences in the comments. Testing your battery can save you from unnecessary troubleshooting and give you more flying time.Checking Power Modules
When your flight controller isn’t receiving power from the battery, it’s crucial to check the power modules. These modules manage and regulate the power supplied to your flight controller and other onboard systems. Ensuring that these modules are functioning correctly can save you a lot of troubleshooting time and effort.
Voltage Regulator
The voltage regulator is a critical component in your drone’s power system. It ensures that the power supplied to the flight controller is at the correct voltage level. If the voltage regulator fails, your flight controller might not get the power it needs.
Start by checking the voltage regulator with a multimeter. Measure the output voltage and compare it to the specifications provided by the manufacturer. If the readings are off, you might need to replace the regulator.
Also, inspect the connections and solder joints. A loose connection or a cold solder joint can cause power issues. A simple re-soldering job might be all that’s needed to restore power to your flight controller.
Bec (battery Eliminator Circuit)
The Battery Eliminator Circuit (BEC) is another vital component. It steps down the battery voltage to a level suitable for the flight controller and other electronics. If the BEC fails, your flight controller won’t receive the necessary power.
Check the BEC for any visible signs of damage. Burnt components or a swollen appearance indicate that the BEC needs replacement. You can also use a multimeter to check the output voltage to ensure it matches the expected values.
Additionally, make sure the BEC is not overloaded. Sometimes, adding too many devices to the BEC can cause it to malfunction. Ensure you’re within the current limits specified by the BEC manufacturer.
Have you experienced flight controller power issues before? What steps did you take to resolve them? Share your thoughts in the comments below!
Assessing The Flight Controller
If your flight controller is not getting power from the battery, a thorough assessment is essential. Start with a visual inspection. Then perform a few functional tests. These steps help to identify and resolve the issue effectively.
Visual Inspection
Begin by examining the flight controller for any obvious signs of damage. Look for burnt components, loose connections, or broken wires. Check the battery connectors. Ensure they are clean and free from corrosion. Verify that all solder joints are intact. Sometimes, a simple visual inspection can reveal the problem.
Functional Tests
Next, move on to functional tests. Use a multimeter to check the voltage at different points on the flight controller. Verify that power is reaching the board. If the voltage is absent, the issue could be with the battery or connections. Test the battery with the multimeter. Confirm it has the correct voltage output. If the battery is fine, check the power distribution board. Ensure it is providing power to the flight controller.
Additionally, try connecting a different battery. This helps to rule out battery-specific issues. If the flight controller receives power with a different battery, the original battery may be faulty. If none of these steps resolve the issue, consider seeking professional help. An expert might be able to diagnose and fix the problem.
Replacing Components
Replacing components in your flight controller can solve many power issues. If your flight controller is not getting power from the battery, the problem might be in the connectors or wiring. Here’s how you can address these issues.
New Connectors
Check the connectors. They might be worn out or damaged. Replace them with new, high-quality connectors. Ensure they fit tightly and securely. Loose connectors can cause power loss. Use connectors designed for your specific flight controller. This ensures compatibility and proper functioning.
Upgraded Wiring
Examine the wiring. Worn or damaged wires can lead to power issues. Upgrade to thicker wires. Thicker wires carry more current and reduce resistance. They prevent power drop and ensure stable operation. Secure the wiring properly. Loose or improperly connected wires can cause intermittent power loss. Use heat shrink tubing to protect connections. This prevents short circuits and enhances durability.
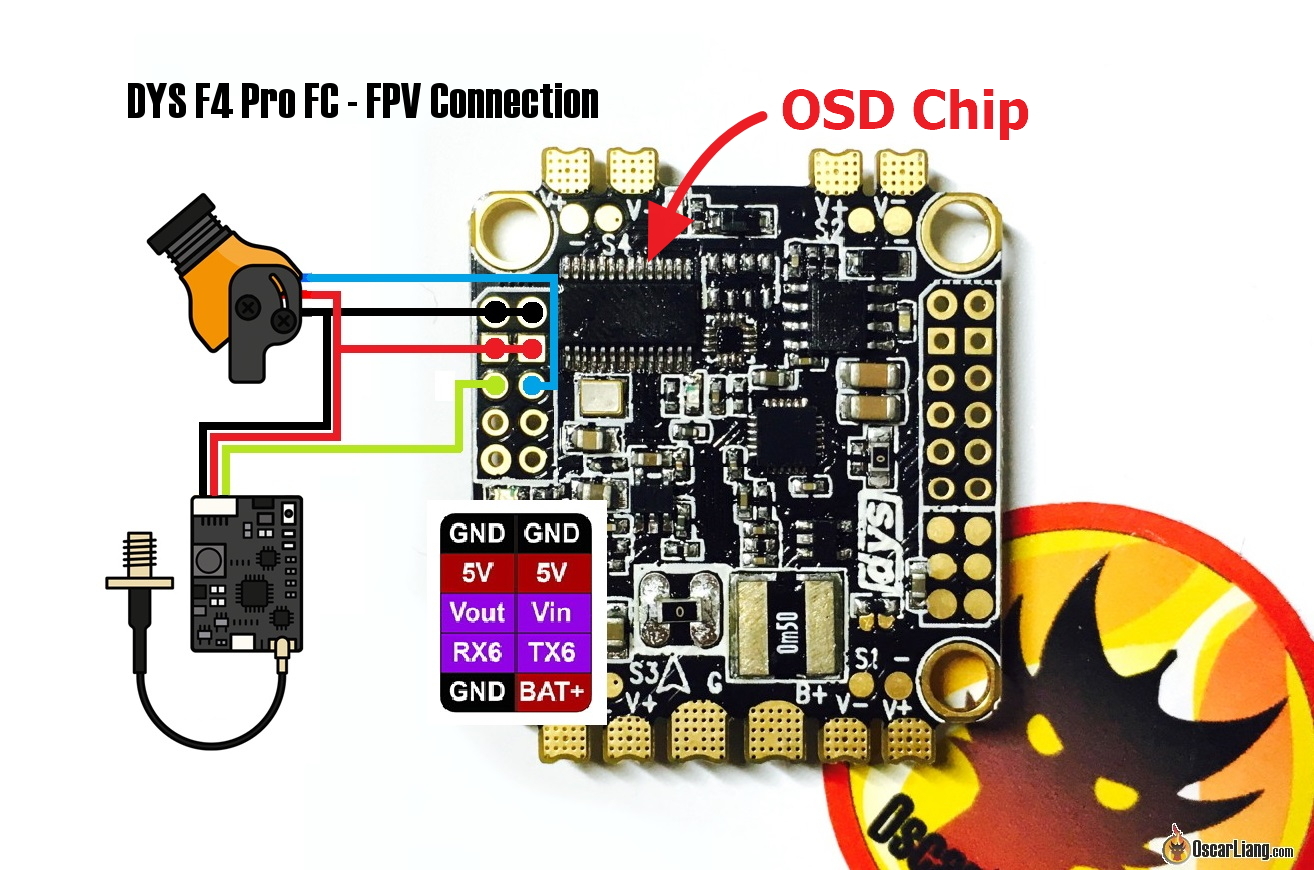
Credit: oscarliang.com
Preventive Measures
Flight controllers play a crucial role in ensuring a smooth flight experience. Keeping them in good condition is essential. Preventive measures can help avoid issues like flight controllers not getting power from the battery. Here’s how you can keep your flight controller in top shape.
Regular Maintenance
Regular maintenance is key. Check the connections frequently. Look for any wear or damage. Clean the connectors to ensure a good connection. Use a soft brush to remove dust and debris. Check for firmware updates. Updates often fix bugs and improve performance. Following these steps can prevent power issues.
Proper Storage
Proper storage is essential. Store the flight controller in a cool, dry place. Avoid extreme temperatures. Heat and cold can damage electronic components. Use a protective case. This prevents physical damage. Keep the battery disconnected when not in use. This prevents unnecessary drain. Proper storage extends the life of your flight controller.
Frequently Asked Questions
Why Won’t My Fpv Drone Power On?
Check battery connection, charge level, and wiring. Inspect for damage or loose components. Ensure correct power settings and firmware updates.
Why Isn’t My Controller Connecting To Betaflight?
Your controller may not connect to Betaflight due to incorrect drivers, faulty USB cables, or misconfigured COM ports. Ensure proper firmware installation.
How To Connect Rc Receiver To Flight Controller?
Connect the RC receiver to the flight controller using the signal, power, and ground wires. Match channels accurately. Bind the receiver with the transmitter. Configure in the flight controller software.
Why Is My Flight Controller Not Getting Power From The Battery?
Your flight controller might not get power due to loose connections or faulty wiring.
How Can I Check If The Battery Is The Problem?
Use a multimeter to check the battery voltage. Ensure it matches the expected value.
Conclusion
Resolving the issue of your flight controller not getting power is essential. First, check all connections and wires. Ensure the battery is fully charged and functional. Consider replacing any faulty components. Regular maintenance prevents future problems. A well-powered flight controller ensures a smooth flying experience.
Lastly, always follow safety guidelines when handling electrical components. This will keep your drone in top shape and ready for flight.