
When your air hogs helicopter wont charge, the most likely cause is a depleted internal lithium-polymer battery that has reached the end of its chemical lifespan. These small batteries often fail if they sit unused for long periods or are left in a discharged state. You can check the charging cable connection first, as a loose plug or a damaged wire is a common and simple reason for a failed power transfer.
Why your Air Hogs helicopter wont charge
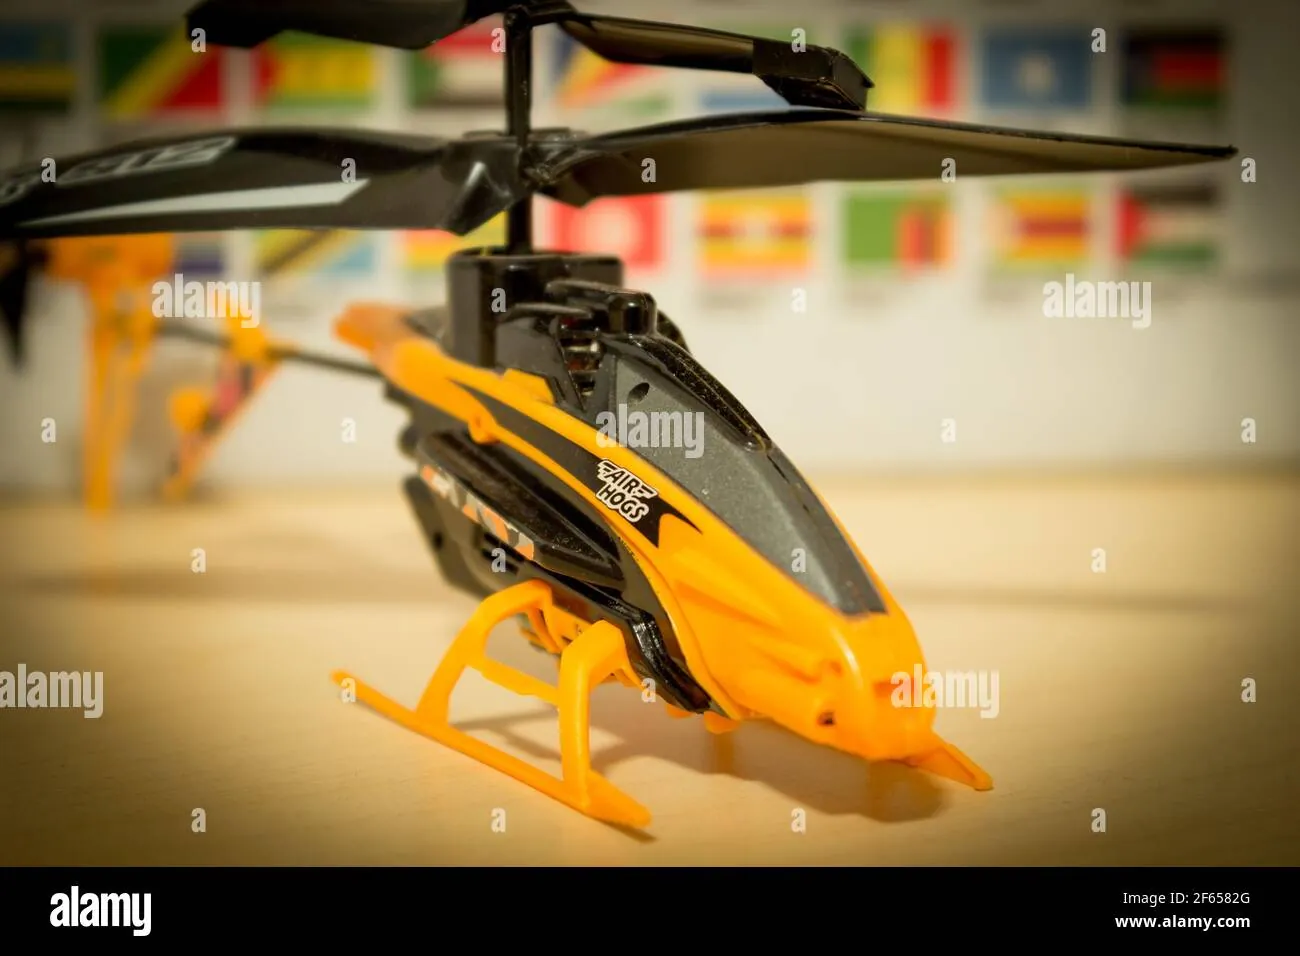
Most micro-helicopters rely on small lithium-polymer (LiPo) cells to keep the weight low enough for flight. These batteries are sensitive to voltage levels. If the voltage drops below a specific safety threshold, the internal protection circuit may prevent it from accepting a new charge to avoid a fire hazard. Lithium batteries become unstable if they’re damaged or if they lose their ability to hold a charge properly over time.
Oxidation on the charging contacts is a frequent culprit. Because these toys are often used in dusty environments, the tiny metal pins inside the charging port or on the controller cable collect debris. This creates a physical barrier that stops electricity from flowing into the battery. If the charging pins appear dark or dull, they aren’t making a clean connection. Use a dry, soft-bristled brush or a cotton swab dipped in 90% isopropyl alcohol to gently clean these surfaces.
The charging source itself often causes the failure. If you use a controller to charge the helicopter, the batteries inside that controller must have enough power to pass a charge along. If those AA batteries are old or weak, they won’t provide the necessary voltage to charge the helicopter’s internal battery.
Apply this rule: if the helicopter light fails to illuminate while plugged into the controller, swap the controller’s AA batteries for a fresh set immediately. If the light still doesn’t turn on, the issue is likely a failed internal cell rather than a connection fault. Many users mistakenly discard the helicopter when only the controller batteries are depleted, costing them a perfectly functional aircraft. Always test the setup with fresh alkaline batteries before assuming the helicopter is broken.
Inspect the charging cable and port
The first step is to clean the connection points to ensure power can actually move from the source to the helicopter. Use a dry, clean cotton swab to gently wipe the metal pins on the charging cable and the corresponding contact points inside the helicopter’s port. Don’t use water or liquid cleaners, as these can cause short circuits or corrosion on the sensitive electronics.
Once cleaned, plug the cable into the helicopter and wiggle it very slightly. If the charging light on the controller flickers or turns on during this movement, you have a loose connection. You may need to hold the cable in a specific position for the duration of the charge. If the light doesn’t turn on at all, try a different set of fresh batteries in the controller.
Inspect the port for any debris or bent pins that might prevent a solid seal. If you see a pin pushed inward, use a needle to carefully nudge it back into alignment. If the port feels mushy or resists the plug, stop immediately to avoid permanent damage to the internal board.
If the cable feels loose or the plastic housing around the connector is cracked, the wire inside may be broken. If the cable is damaged, don’t attempt to strip or solder the wires yourself. Lithium battery charging requires precise voltage control to prevent overheating.
If you can’t get a steady light, you should contact the manufacturer or a hobby shop for a replacement cable designed specifically for your model. Using a generic charger with the wrong voltage output can lead to battery swelling or a fire hazard.
Replace the controller power source
If the helicopter refuses to charge, the issue is often insufficient power delivery from the controller. These controllers act as both a transmitter and a charger, which places a high demand on the AA batteries. If the controller batteries are weak, they may power the lights but lack the strength to trigger the charging circuit; contact a technician for further testing.
Swap out all controller batteries for a brand-new, high-quality set of alkaline batteries. Avoid mixing old and new batteries, as this can cause the weaker ones to leak or fail under the load of charging the helicopter. If you suspect an electrical issue with the cells, have a qualified technician inspect the power flow.
Once the fresh batteries are installed, turn the controller to the “charge” position and plug the cable into the helicopter. Observe the charging indicator light for at least 60 seconds. If the light remains dark even with fresh batteries, the internal battery or charging board may have failed.
This component is rarely user-serviceable because it’s soldered directly to the main circuit board. At this point, trying to bypass the circuitry or open the shell is dangerous and likely to void any remaining warranty. If the light flickers but fails to hold a steady glow, check the charging port for debris or bent pins.
If it still doesn’t charge, the toy has likely reached the end of its functional life. Don’t attempt to force a charge by leaving the unit plugged in overnight, as this creates a significant fire risk.
Troubleshooting charging myths
Some common advice found online can actually damage your device or create a safety risk. Never attempt these methods:
Putting the battery in the freezer: This does not “reset” a dead lithium battery. Instead, freezing temperatures trigger internal condensation that corrodes sensitive circuitry. If you notice a device failing to hold a charge, check the charging port for debris first; a simple wooden toothpick can safely dislodge pocket lint that prevents a solid connection.
“Jump-starting” with a higher voltage adapter: Using a charger not designed for your specific device will likely overheat the battery. This often causes the lithium cells to swell or vent toxic gas. Always match the “Output” voltage printed on your brick to the “Input” requirement on your device. If the numbers don’t align exactly, don’t risk the connection.
Shorting the pins to “clear” the port: Using a metal object like a paperclip to scrape the port can bend the pins or cause a spark that destroys the internal charging chip. If the port feels loose, the issue is usually a broken solder joint rather than a blockage.
Repeatedly plugging and unplugging: Doing this dozens of times wears out the thin metal contacts. Once the spring-loaded pins lose their tension, they can’t maintain a steady electrical flow. If the connection flickers when you move the cable, stop using it immediately to prevent internal arcing.
How to manage battery health
Preventing future charging failures requires changing how you store and use the helicopter. Lithium-polymer batteries degrade quickly if they’re left empty for weeks at a time. The goal is to keep the battery in a state where it’s neither completely full nor completely empty when you put it away.
Aim for a storage level of roughly 50% capacity before you stow the helicopter for more than three days. Storing a battery at 100% causes internal oxidation that permanently reduces your flight time within months. If you’re unsure about the battery’s status, consult a technician to avoid potential damage.
| If you’re doing this | Do this instead | Why |
|---|---|---|
| Storing it empty | Charge to 50% | Prevents deep discharge damage |
| Leaving it in the sun | Keep in a cool place | Heat degrades internal chemistry |
| Using until it dies | Land when power drops | Avoids “dead” battery voltage |
| Leaving it plugged in | Unplug after light stops | Prevents overcharging risks |
Many pilots make the mistake of waiting for the helicopter to lose power entirely before landing. This triggers a voltage sag that can kill a cell instantly. If your flight controller reports a low-voltage warning, land immediately. Ignoring this warning costs you the entire battery pack, as the internal resistance will spike, rendering the unit unable to hold a charge.
Frequently asked questions
How long does it take to charge?
Air Hogs helicopters typically take 20 to 40 minutes to reach a full charge. This duration assumes an ambient room temperature between 65°F and 75°F. If the room is very cold, the battery may take longer to charge or fail to charge entirely.
Is it safe to charge with a phone charger?
No, you should only use the charging cable and controller provided by the manufacturer. Using a high-output USB phone charger can send too much current into the tiny battery, which can lead to fire or physical damage to the helicopter. These toys are designed for a specific, low-amperage input that standard phone chargers don’t provide. Stick to the equipment that came in the box to ensure the safety of the unit.
Can I replace the internal battery?
No, the internal battery is soldered to the main circuit board and isn’t intended for user replacement. Attempting to remove it requires specialized soldering equipment and knowledge of lithium battery handling. Opening the casing often leads to damaging the delicate frame or internal antenna.
Why does the light turn off immediately?
If the charging light turns off immediately, the internal battery is likely no longer accepting a charge. This occurs when a battery has been left discharged for too long, causing the voltage to drop below the minimum threshold required for the protection circuit to allow charging. This indicates the battery has reached the end of its life.
What happens if I keep it plugged in?
Unplug the helicopter as soon as the charge is complete to avoid unnecessary stress on the battery. While some chargers have an automatic cutoff, others may continue to push current, which can lead to battery swelling. Always disconnect the unit once the indicator light shows the cycle is finished.
Conclusion
If these quick checks don’t bring your toy back to life, it’s probably time to consider a replacement. Lithium batteries aren’t meant to last forever, and they don’t always recover from deep discharge. You’ll find that upgrading to a newer model is often easier than trying to repair these tiny, delicate parts.