
You can resolve most connection or power issues by performing a simple tactacam reveal troubleshooting process to reset the camera’s communication with the cellular network. The most common cause is a low battery level or a weak signal in the area where you placed the camera. If your device isn’t sending photos, the first step is always to check your signal strength and battery voltage within the mobile app.
Troubleshooting your Tactacam Reveal connection
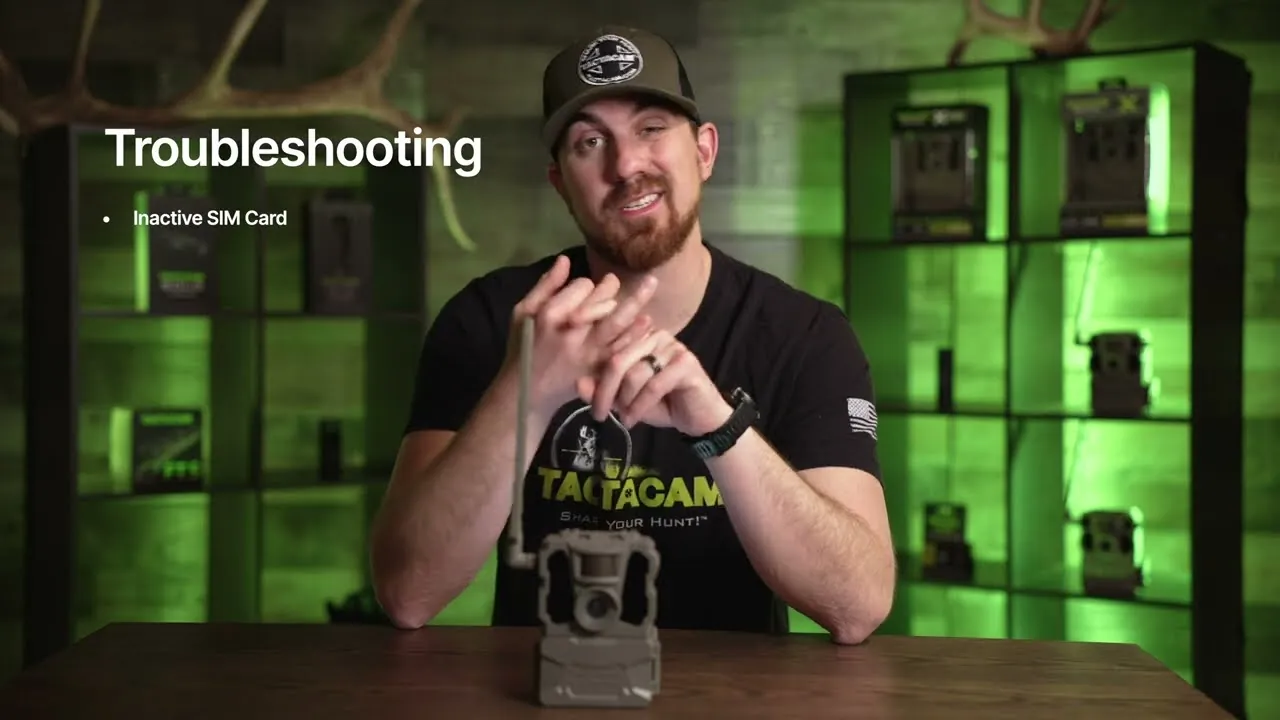
When your camera stops sending images, it’s usually because the signal is too weak to maintain a stable handshake with the local cell tower. Look at the status LEDs on the front of the camera when you power it on.
If the signal light flashes red, the camera can’t find a network, which often happens in dense woods or deep valleys. Move the unit at least fifty feet toward higher ground or a clearing to see if the light turns solid green.
Battery chemistry is a frequent culprit. Lithium batteries perform better in cold weather, while alkaline batteries drop in power too quickly to run the cellular modem. If the unit powers up but fails to send photos, swap to lithium batteries; if the issue persists, contact a technician for further inspection.
If you have recently moved the camera, the unit might be stuck trying to connect to a tower that’s no longer in range. A manual restart forces the device to scan for the strongest available signal again. Toggle the power switch to the off position, wait a few seconds, and then turn it back on.
Always ensure your firmware is up to date, as older versions may lack the protocols needed to connect to newer network bands. Check your mobile app settings to see if a firmware update is pending. If the camera still fails to connect after a restart, perform a factory reset to clear corrupted network cache files.
Resetting the Camera Network Settings
To fix a camera that won’t connect, start by turning the device to the “OFF” position and removing the SD card. Leave the device off for at least 60 seconds to clear the internal cache. While the camera is off, remove the batteries to ensure a complete power cycle. This clears the temporary memory that might be holding onto a bad network configuration.
Most users fail by leaving the batteries inside while the camera is off. You must remove the batteries entirely to clear the temporary memory.
After one minute, insert a fresh, high-quality SD card that has been formatted to FAT32 or exFAT, depending on your model’s requirements. Insert fully charged batteries and switch the camera to the “TEST” mode. Watch the signal light carefully. If it turns solid green, the camera has successfully registered with the network. If it remains red, move the camera at least 50 yards away from its current spot and try the power cycle again.
This fix is for users who have confirmed their data plan is active and their account is in good standing. If you have a subscription that has expired, the camera will physically function but will be blocked from uploading images to the server. You can check your subscription status directly through the mobile app dashboard.
If you lack the proper signal even after moving, you may need a cellular signal booster. This is a separate piece of equipment that requires professional installation or specific knowledge of local tower locations. If your signal icon shows fewer than two bars, don’t expect reliable uploads regardless of your reset attempts.
Updating the Firmware and Settings
If your camera powers on but behaves erratically, the internal software might be corrupted. You can update the firmware by downloading the latest file from the manufacturer’s website onto your computer. Transfer this file to the root directory of your SD card, insert the card into the camera, and then switch the unit to the “SETUP” mode. The lights will typically blink in a specific pattern to indicate the update is in progress.
Never turn the camera off while the lights are flashing, as this can permanently damage the internal board. Once the lights stop flashing or the camera reboots, the update is complete. This process is essential if you notice the camera is skipping photos or failing to recognize motion triggers. It effectively clears out bugs that accumulate over time.
Always verify the battery level before starting. If your battery drops below 50 percent, the camera may shut down mid-update and brick the device. If the update fails, reformat the SD card using the camera’s internal menu before trying again. This clears hidden system files that often interfere with the installation process.
This method is for those who are comfortable using a computer to move files onto an SD card. If you don’t have a computer or an SD card reader, you can’t perform this update yourself.
In such cases, you should contact the manufacturer’s support team to see if they can push an over-the-air update to your device. Be aware that some older models don’t support remote updates and must be connected to a PC. If the device remains unresponsive after these steps, the hardware itself likely requires a professional repair.
Avoiding Common Setup Mistakes
Many people accidentally place the camera in a spot that looks good for wildlife but is a “dead zone” for cellular reception. Avoid mounting the camera in deep ravines or behind large metal structures like sheds or pole barns. These objects block the radio waves needed for the camera to report back to the server. If your signal bars fluctuate between zero and one, move the unit at least twenty feet toward higher ground or a clearing.
Mixing old and new batteries causes uneven voltage, which leads to sudden shutdowns during transmission. Always replace the entire set at once to maintain a consistent power draw.
Format the SD card inside the camera menu rather than on a computer. This ensures the file system matches the camera’s specific architecture. Using a card that exceeds the manufacturer’s maximum capacity often results in read/write errors that lock the device.
If the antenna is loose or the threads are dirty, the signal will be significantly weaker than expected. Tighten it by hand until it’s snug.
Setting motion sensitivity too high causes the camera to capture swaying branches, which drains the battery rapidly. If you find more than three empty frames for every animal photo, lower the sensitivity by one increment. This simple adjustment preserves battery life for weeks of extra operation. If you’re in a high-wind area, point the lens away from brush to avoid false triggers entirely.
Improving Future Camera Reliability
The best way to keep your camera running is to maintain a strict maintenance schedule during the off-season. When you aren’t using the camera, store it in a dry, room-temperature environment with the batteries removed. This prevents chemical leaks and keeps the internal components from corroding in humid conditions.
| If you’re doing this | Do this instead | Why |
|---|---|---|
| Leaving batteries inside | Remove batteries for storage | Prevents leakage and acid damage |
| Using random SD cards | Use a high-endurance SD card | Reduces data corruption errors |
| Keeping antenna tight | Hand-tighten until snug | Overtightening damages the connection port |
| Leaving in the rain | Use a protective housing | Keeps moisture away from the lens |
| Ignoring LED codes | Consult the user manual | Each blink pattern indicates a specific error |
If you’re currently experiencing a total failure where the camera doesn’t turn on at all, ensure you’re using the correct voltage. Some cameras require specific lithium packs, and using standard AA batteries might not provide enough amperage to start the cellular module.
If you have tried these steps and the camera still fails to communicate, the internal cellular modem may have reached its end of life or suffered hardware failure. At that point, you should contact the manufacturer for a warranty claim or a repair estimate.
Frequently asked questions
How long do batteries last in a cellular camera?
Batteries typically last between 2 to 4 months, depending on usage and signal strength. Cold weather significantly reduces this lifespan, often cutting it by half. Please monitor your app to track battery levels and replace them before they die.
Why is my camera taking blank photos?
Your camera is likely capturing motion from wind-blown vegetation rather than animals. Lower the motion sensitivity setting in your app and mount the camera on a solid, non-moving surface. Increasing the trigger delay to 30 or 60 seconds can also prevent repeated, unnecessary captures.
Is it safe to leave the camera out in freezing temperatures?
Yes, it’s safe to leave the camera out if you use lithium batteries rated for sub-zero operation. Alkaline batteries fail quickly in freezing conditions, which can cause the camera to shut down. Ensure the battery door is latched tightly to prevent moisture from entering.
How do I know if my subscription is active?
You can confirm your subscription status by opening the mobile app and navigating to the account or billing section. If your subscription has expired, you’ll see a prompt to renew your plan before the camera can upload any more images. The camera will continue to store photos on the SD card if you have one inserted, but it won’t send them to your phone until the account is active again.
What should I do if the camera won’t turn on at all?
Verify that your batteries are fully charged and inserted in the correct orientation. If the device remains unresponsive after checking the contacts for corrosion, the internal power board may be damaged. Contact the manufacturer’s customer support to discuss a potential repair or warranty replacement.
Conclusion
If these quick checks don’t get your camera back online, don’t hesitate to reach out to the support team through the app. They’re happy to help you dig deeper into any persistent hardware issues. Once you’ve sorted things out, you’ll be back to scouting your favorite spots in no time.