
Experiencing issues with your audio gear can be frustrating, especially when you rely on your headphones for daily commutes, work calls, or workouts. When you find yourself performing jabra elite troubleshooting, it’s usually because of a minor sync error, a firmware glitch, or a simple accumulation of debris in the charging pins. Most of these problems are solvable at home with a few systematic steps that reset the connection between your earbuds and your mobile device.
Key Takeaways
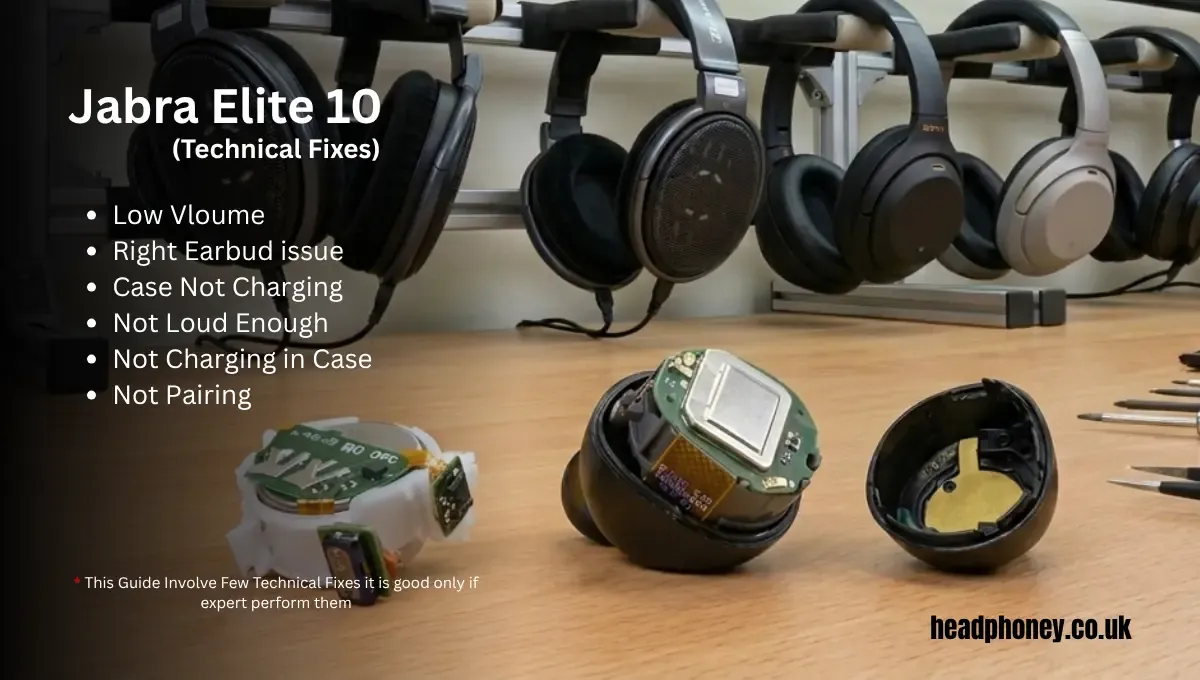
- Always start by cleaning the gold charging contacts on both the earbuds and the case using a dry cotton swab.
- A factory reset is the most effective way to resolve persistent pairing or audio imbalance issues.
- Ensure your Jabra Sound+ app is updated to the latest version to prevent software-related connectivity drops.
- Check that your smartphone’s Bluetooth settings aren’t overwhelmed by multiple previously paired devices.
- Charge the case and earbuds fully before attempting a firmware update to avoid mid-process power failure.
Why Do Earbuds Lose Connection?
Connectivity issues often stem from Bluetooth signal interference caused by crowded wireless environments, such as busy offices or crowded public transit hubs. Your earbuds communicate via a 2.4 GHz frequency, which is shared by Wi-Fi routers and other wireless peripherals.
If your smartphone has too many saved Bluetooth profiles, it may struggle to handshake with your Jabra Elite buds specifically. Additionally, firmware mismatches between the left and right earbud can cause one side to drop out while the other continues to play audio.
Jabra Elite Connectivity Troubleshooting
- Audio cutting out intermittently while walking.
- One earbud failing to connect to the phone.
- The Jabra Sound+ app failing to recognize the device.
- Audio lag during video playback or gaming sessions.
Cleaning Charging Contacts Properly
Debris, earwax, or sweat residue on the charging pins can prevent the earbuds from receiving a charge, which often mimics a hardware failure. If an earbud doesn’t turn on when removed from the case, it likely didn’t charge overnight. Use a soft dry cloth or a clean cotton swab to gently wipe the gold contact points on the earbuds and the corresponding pins inside the charging case. Avoid using liquids or abrasive materials that could damage the delicate gold plating.
| Component | Cleaning Frequency | Tool to Use |
|---|---|---|
| Charging Case Pins | Every 2 weeks | Dry Cotton Swab |
| Earbud Contact Points | Weekly | Microfiber Cloth |
| Mesh Speaker Grills | Monthly | Soft Bristle Brush |
How to Perform a Reset?
Performing a factory reset is the gold standard for fixing deep-seated software glitches. This process clears all pairing history and restores the device to its out-of-the-box state. To reset your Jabra Elite earbuds, place both earbuds in the charging case and leave the lid open.
Press and hold the buttons on both earbuds simultaneously for approximately 10 to 15 seconds until the LED lights flash purple, indicating the reset process is complete. After the reset, you must delete the “Jabra Elite” entry from your smartphone’s Bluetooth menu before attempting to pair them again as a new device.
Resolving Audio Balance Issues
If one earbud is significantly quieter than the other, it’s rarely a speaker failure. Most commonly, this is caused by clogged acoustic filters or a software balance setting. Check your smartphone’s accessibility settings to ensure the left-right audio balance slider is centered. If the hardware is clean but the issue persists, the internal mesh filter may be blocked by wax. Gently brushing the mesh with a soft-bristled toothbrush can often restore volume levels immediately.
Updating Device Firmware
Software updates provide critical patches for Bluetooth stability and battery management. You must use the Jabra Sound+ official support page to ensure you’re running the latest version of the application, which manages the background communication between your phone and your audio hardware.
When an update is available, place your earbuds in the case with the lid open and keep your phone nearby. Don’t close the case or move out of range until the progress bar in the app confirms the installation is finished.
Managing Bluetooth Pairing Conflicts
If you frequently switch between a laptop, tablet, and smartphone, your earbuds may get confused about which device to prioritize. To stop this behavior, turn off Bluetooth on all devices except the one you’re currently using. If the earbuds refuse to enter pairing mode, forget the device in your phone settings, turn off Bluetooth, wait ten seconds, and turn it back on. This forces the device to clear its cache and search for a fresh connection.
Troubleshooting Battery Drain Problems
If your earbuds die significantly faster than the manufacturer’s rated battery life, you may be dealing with a background process drain. Features like Active Noise Cancellation (ANC) or HearThrough mode consume significantly more power than standard playback.
If you notice rapid drainage even when not in use, ensure that the earbuds are seating correctly in the charging case. If they don’t seat perfectly, they may remain connected to your phone via Bluetooth, draining both the case and the buds while sitting in your bag.
| Feature | Impact on Battery | Power Saving Tip |
|---|---|---|
| Active Noise Cancellation | High | Use only when needed |
| HearThrough Mode | Medium | Turn off in quiet areas |
| High Volume Levels | High | Keep volume at 60% |
| Voice Assistant Access | Low | Disable if unused |
Can You Fix Hardware Damage?
While software issues are common, physical damage is often permanent. If you dropped your earbuds into water or onto a hard surface, the internal components might be compromised. While these devices are designed to be water-resistant, they aren’t waterproof.
If the LEDs don’t light up at all after a hard reset and a thorough cleaning, the battery or internal circuitry may have reached the end of its life. In such cases, checking your warranty status is the most logical next step.
Warning: Never attempt to open the casing of your earbuds with tools, as this will immediately void any existing warranty and could puncture the lithium-ion battery, creating a significant fire hazard.
Dealing With Case Charging Faults
If the charging case itself fails to hold a charge, verify that you’re using a certified USB cable and a reliable power adapter. Some high-wattage fast chargers can occasionally cause issues with older case firmware.
Try charging the case using a standard 5V/1A USB port on a computer or a basic wall brick. If the LED on the case doesn’t blink when plugged in, the charging port might be obstructed by lint or dust. Use a wooden toothpick to gently clear the port of any debris.
Optimizing for Call Quality
If callers report that you sound muffled or distant, your microphone inlets might be blocked. Jabra Elite earbuds use beamforming microphones that require a clear path to your voice.
Ensure that your ear tips are the correct size; if the fit is too loose, the earbuds may sit too deep or at an awkward angle, causing the microphones to be obscured by your ear canal or clothing. Additionally, try disabling any third-party audio enhancers or equalizers on your phone, as these can sometimes distort microphone processing.
Pro Tip: If you’re having trouble with voice clarity during calls, try performing a “soft reset” by turning your phone’s Bluetooth off and on while the earbuds are in your ears, which often re-initializes the microphone protocol.
Frequently Asked Questions
Why do my earbuds keep disconnecting?
Interference from other 2.4 GHz devices like routers or microwaves often causes drops. Ensure your firmware is updated via the Jabra Sound+ app and remove other nearby Bluetooth devices from your phone’s history. If the issue continues, perform a full factory reset by holding both earbud buttons while they’re in the case to clear any corrupted connection cache.
How do I reset my Jabra earbuds?
Place both earbuds in the charging case with the lid open. Press and hold the buttons on both earbuds simultaneously for 10 to 15 seconds until the LEDs flash purple. Once they flash, the reset is complete. Delete the earbuds from your phone’s Bluetooth settings, then re-pair them as if they were brand new to ensure a clean, stable connection.
What does the flashing red LED mean?
A flashing red LED on your earbuds or charging case typically indicates a firmware error or a battery charging fault. First, try cleaning the charging pins with a dry cotton swab to ensure proper contact. If the light persists, perform a factory reset. If the red light remains after a reset and a full, uninterrupted charge, the unit may have a hardware defect.
Can I fix a dead earbud that won’t charge?
Often, a “dead” earbud is simply not making electrical contact with the case due to earwax or debris accumulation. Use a dry cotton swab to clean the gold charging pins on the bud and inside the case. If cleaning fails, perform a factory reset while the buds are in the case. If neither step works, the internal battery may have failed.
How do I update my Jabra firmware?
Download and open the Jabra Sound+ app on your smartphone and connect your earbuds. If an update is available, a notification will appear on the dashboard. Keep the earbuds inside the case with the lid open during the update process. Ensure your phone remains close to the earbuds and don’t close the case until the app confirms the update is complete.
Conclusion
If you have completed the reset process, cleaned all contact points, and verified that your firmware is up to date, but the earbuds still fail to function correctly, your next step should be to contact the manufacturer’s support team directly. Be prepared to provide your serial number, which can be found inside the charging case, to verify your eligibility for a replacement or professional repair service.